Easy Bleach Tie Dye Designs (Reverse Tie Dye Patterns) Plus Guide
You can learn how to tie-dye with bleach using this collection of tie-dye patterns, tie-dye tutorials and designs. Tie-dye bleaching is easy to learn as well as a fun project to make at home.
You can easily make tie-dye hoodies, bleach tie-dye shirt patterns, sweatpants, and more using these bleach tie-dye techniques.

What is Bleach Tie-Dyeing?
Tie-dye using bleach is taking the color out of an item instead of adding it like traditional tie-dying. Bleach Dyeing uses bleach to take the color out with the technique, which is the opposite of what colorful tie-dyeing would be like, since you add color to a white or lighter piece of fabric.
Occasionally, you will hear this technique called reverse tie-dying (aka reverse bleach tie dye), since it is technically taking the color out of an item instead of applying it.
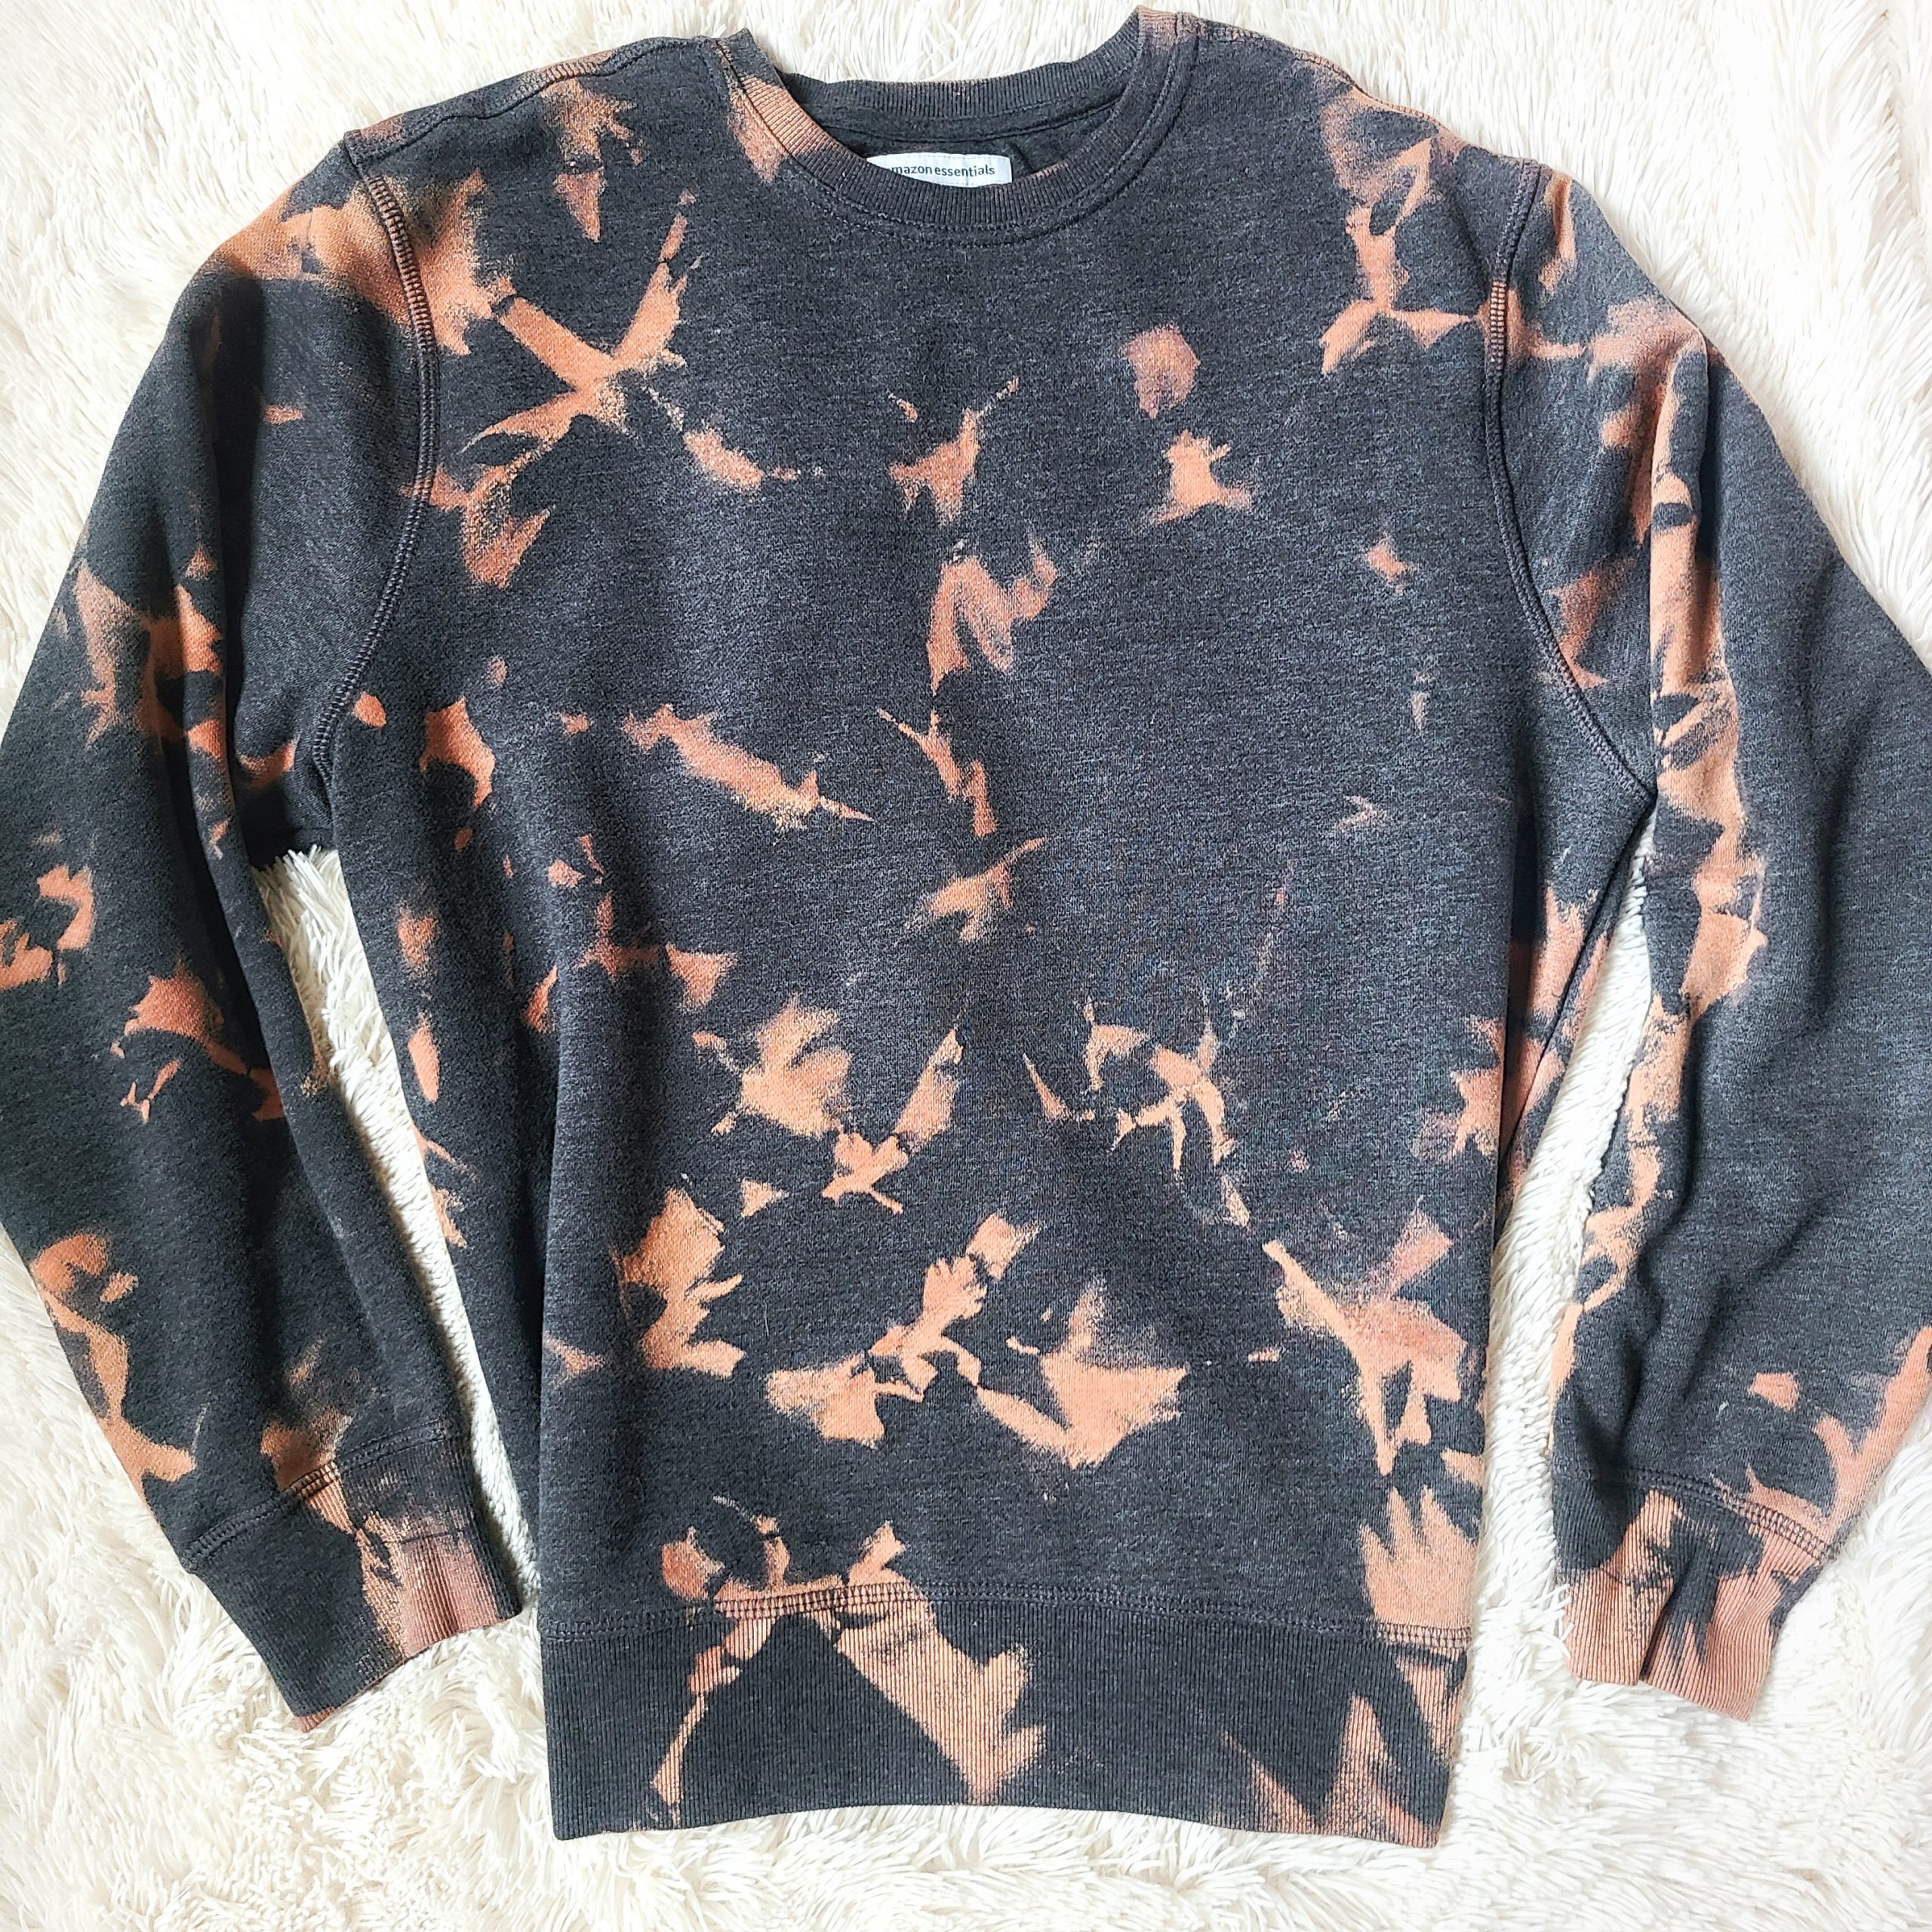
Bleach Tie Dye Guide (Reverse Tie-Dye)
Learn all about the supplies, the recipe to make the bleach and some techniques to create some amazing designs with bleach dying.
Supplies for Dyeing With Bleach
You’ll only need a few supplies to make a tie-dye bleach clothing piece, such as a bleached sweatshirt. The rule of thumb is to always use a dark-colored fabric when bleach dying, such as black, burgundy or dark gray.
Take a look below at all the materials you’ll need to learn how to reverse-dye with bleach.
Supplies for Bleach Tie Dye
- Colored Hoodie, T-shirt, Leggings or Sweatpants (anything you’d like)
- Rubber Bands (different sizes and widths)
- Spray Bottle
- Bleach
- Water
- Rubber Gloves
With spray bleach tie dye I highly suggest bleaching outdoors or in a well-ventilated area on a flat surface for your safety. Wear a protective covering to protect your clothing from bleach splashes, which will strip any original color from a fabric that is exposed. You could also wear old clothes if you don’t have any protective gear on hand.
Bleach Dye “Recipe”
- 1 part bleach (any household bleach works)
- 1 part water
Pour the bleach mixture in a squirt bottle or a squeeze bottle, so it makes it easier to apply the bleach to the fabric of your choosing.
How to Bleach Dye
Follow these easy steps to Reverse Tie Dye (Bleach Dye) on fabric.
- Pick the pattern you want to use for your fabric (see choices in the pattern section)
- Use clips, strings or rubber bands to wrap fabric.
- Use a squirt bottle or use a reverse dye pen to apply bleach.
- Rinse shirt completely in cool water
- Hand and let air dry for best results until dry or run in through a cold cycle in the washing machine then hang dry.
Bleach Tie Dye Techniques
There are a few different ways how to do bleach tie-dye and make bleach dye patterns (aka bleach dye techniques), which I’ll highlight below. You may find ways that I don’t mention which will more than likely work just as well too.
Bleach Dye Patterns
Once you pick your method of tie-dying, then you are ready to apply the bleach mixture to your sweatshirt, jeans (or fabric of choice, using the bleach mixture “recipe” above.
Scroll on down to look through a couple of fun ways to tie-dye with these tutorials. The first reverse dying tutorial is from us here at makingaspace.com, and the others are some great bleach dying techniques from other creators as well.
Bleach Tie-Dye Project Ideas
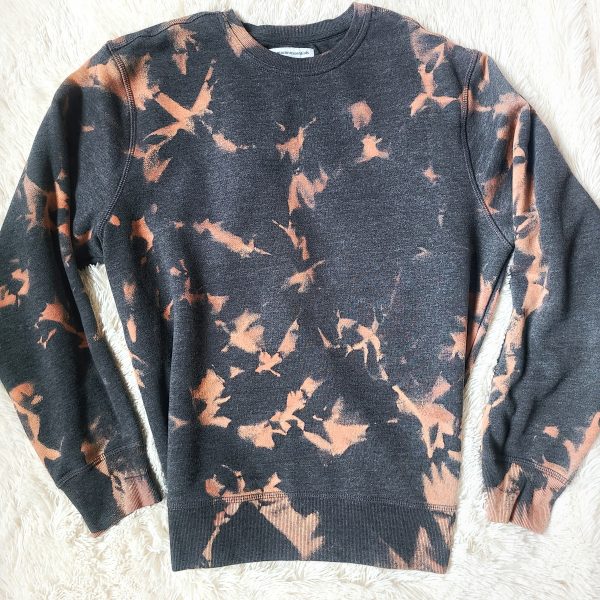
Bleach Tie Dye Sweatshirt Tutorial
This simple bleach dye sweatshirt technique is fun to learn and not to mention easy! It uses rubber bands and a mix of bleach solution to create unique and different patterns.
Once it is made, just throw into the washing machine separately (in cold water) and enjoy your beautiful finished product. You’ll love how easy it is to use bleach to tie dye.
Free tutorial from makingaspace.com.
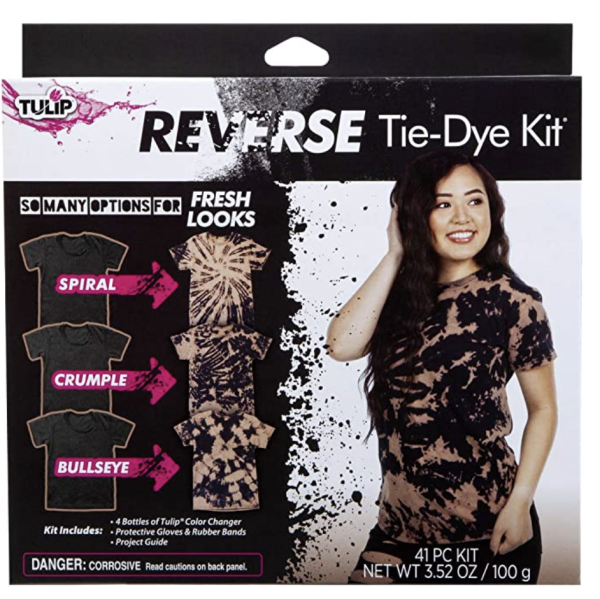
Reverse Tie-Dye Kit
With this kit from Tulip, you’ll be able to make either a spiral, crumple or bullseye bleach dye shirt! It can really create some cool bleach tie dye patterns.
Remember, the darker the fabric the better reverse tie-dying results you’ll have. This kit will make one black tie dye shirt.
Find the kit from amazon.com
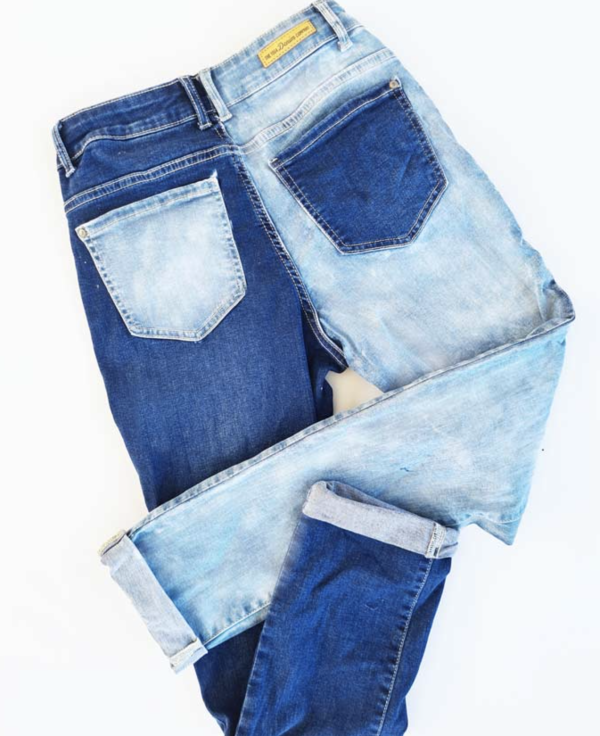
Half Bleached Jeans
Learn how to bleach jeans with this step-by-step tutorial. These bleached jeans are easy to make as long as you follow along with the photo tutorial.
Bleached denim tutorial from nowthatspeachy.com.
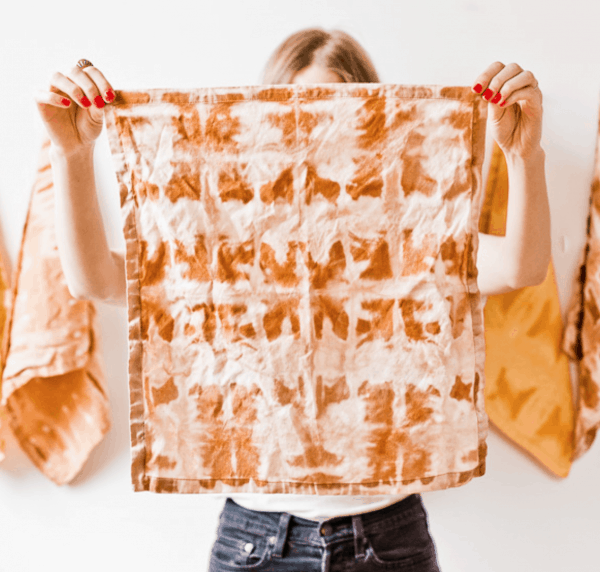
Bleach Tie-Dye Tea Towel
This simple project of bleach tie-dying creates a DIY shibori textile as shown. This tutorial also includes various techniques to create multiple patterns and different designs.
Free tutorial from papernstitchblog.com
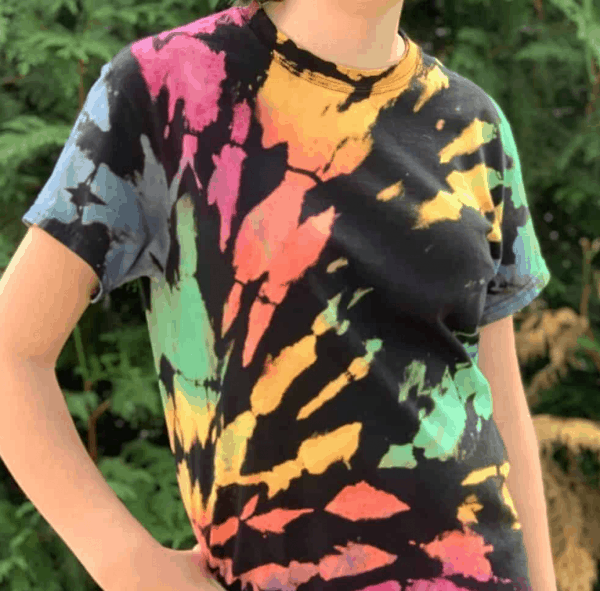
Reverse Tie-Dye T-Shirt with Color
Learn how to reverse bleach tie-dye a t shirt, then add color back to the bleached areas with this fun tutorial. For best results, follow along with the step-by-step instructions for this bleach tie-dye shirt.
Free tutorial from chaoticallyyours.com.
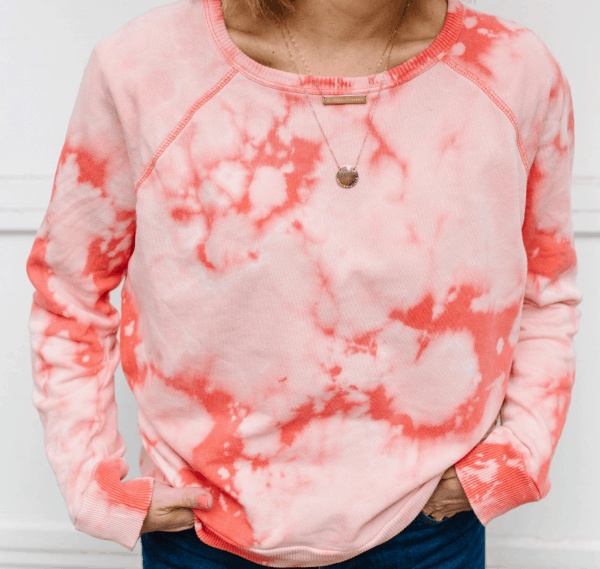
Reverse Tie-Dye Sweatshirt Top
This plain cotton fabric sweatshirt is transformed into a beautiful one of a kind design. Learn how to make your own with the reverse bleach top with this lesson.
Free tutorial from prettylifegirls.com.
Easy Bleach Dye Video Tutorial
Common Questions about Reverse or Bleach Tie Dye Patterns
Can I use a Bleach Pen to Bleach Dye?
Yes, you can use a bleach pen to reverse tie-dye. It is a great addition to use along with one of the methods listed above to add a straight line or fun color change in a given spot.
How Do I Make a Spiral Pattern?
To make a bleach tie dye pattern in a spiral, start at the center of the shirt or fabric you are bleaching, pinch the fabric and twist in a clock like motion. Keep swirling the fabric until the whole shirt is in a spiral. Use 3 or 4 rubber bands to hold your item in place, evenly spacing out the bands.
How Long do you let Bleach tie dye Sit?
You should let bleach tie dye sit for just a few minutes before rinsing out.
More DIYs and Tutorials to Make
- Learn How to Dehydrate Watermelon (+ Recipes)
- Simple and Delicious Three-Bean Chili (Slow Cooker Recipe)
- 8 Must Make Strawberry Cheesecake Desserts
- How to Make the Best Beer Can Chicken
- 4 Ways to Soften Brown Sugar Quickly
- Easy No Bake Chocolate Krispies Treat Recipe
- Top 3 Sweet and Simple Valentine Recipes
- Pineapple Pretzel Fluff Dip Recipe

6 Comments