Reverse Tie Dye With Bleach Sweatshirt Tutorial
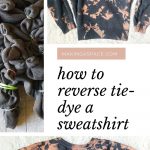
I promise you can learn how to bleach die a sweatshirt with this bleach dye tutorial. Tie-dying with bleach is actually less messy than traditional tie-dye and works faster too. Yay!
Scroll on down to learn this easy DIY bleach dying technique and to see how fun it can be to make a reverse tie-dye sweatshirt!
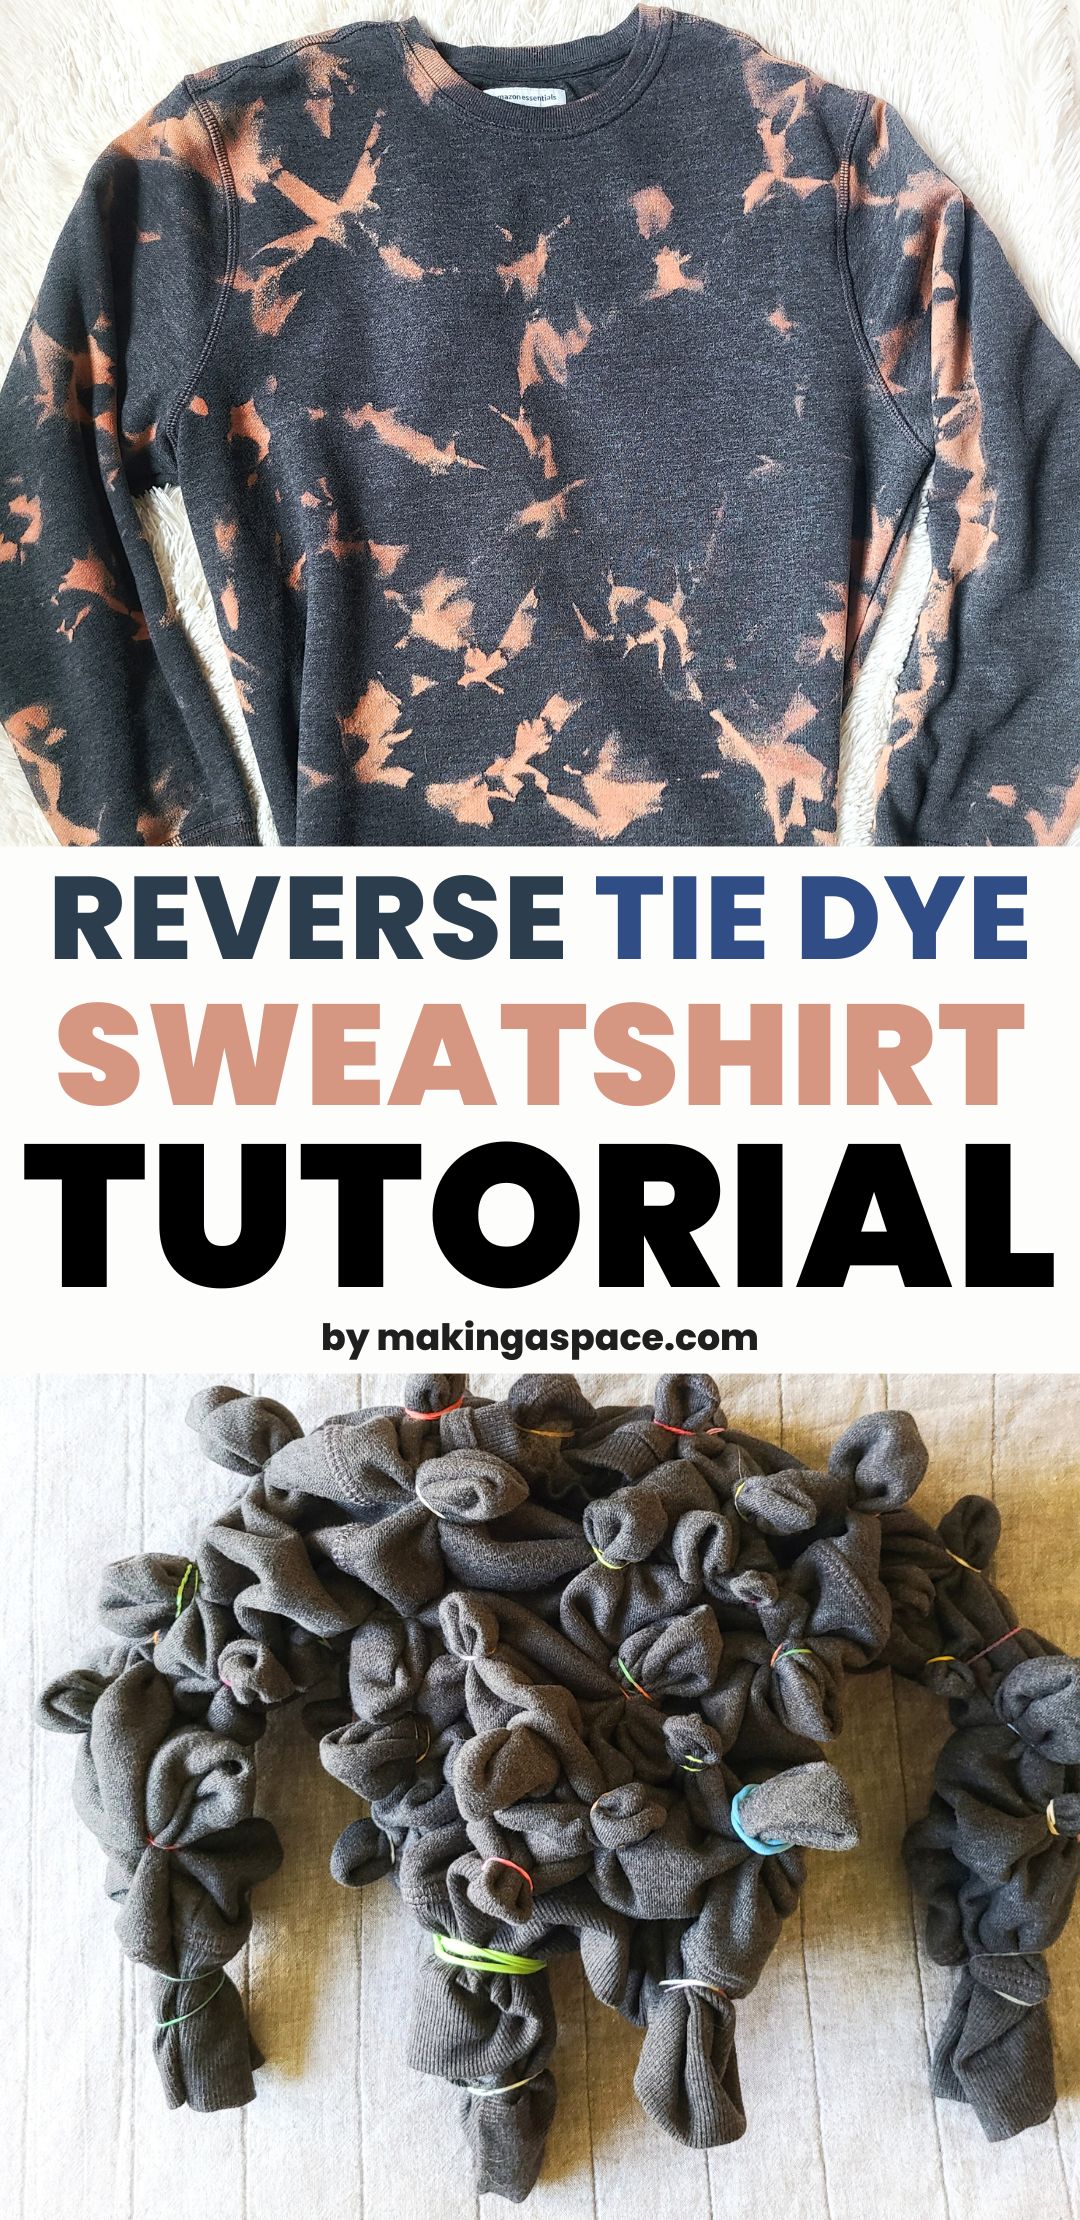
What is Bleach Tie-Dyeing (Reverse Tie Dye)?
Bleach tie-dyeing is a technique that takes the color out of an item instead of adding it like traditional tie-dying does. You use bleach to take the color out of dark-colored materials, which is the opposite of what a colorful tie-dyeing would be like, since you add color to a white piece of fabric.
Every so often you will hear this technique called reverse tie-dying, since it is technically taking the color out of an item instead of applying it.
As long as you use a darker clothing item that is non-white, you can use this bleaching design to create some unique and cool bleach tie dye patterns.
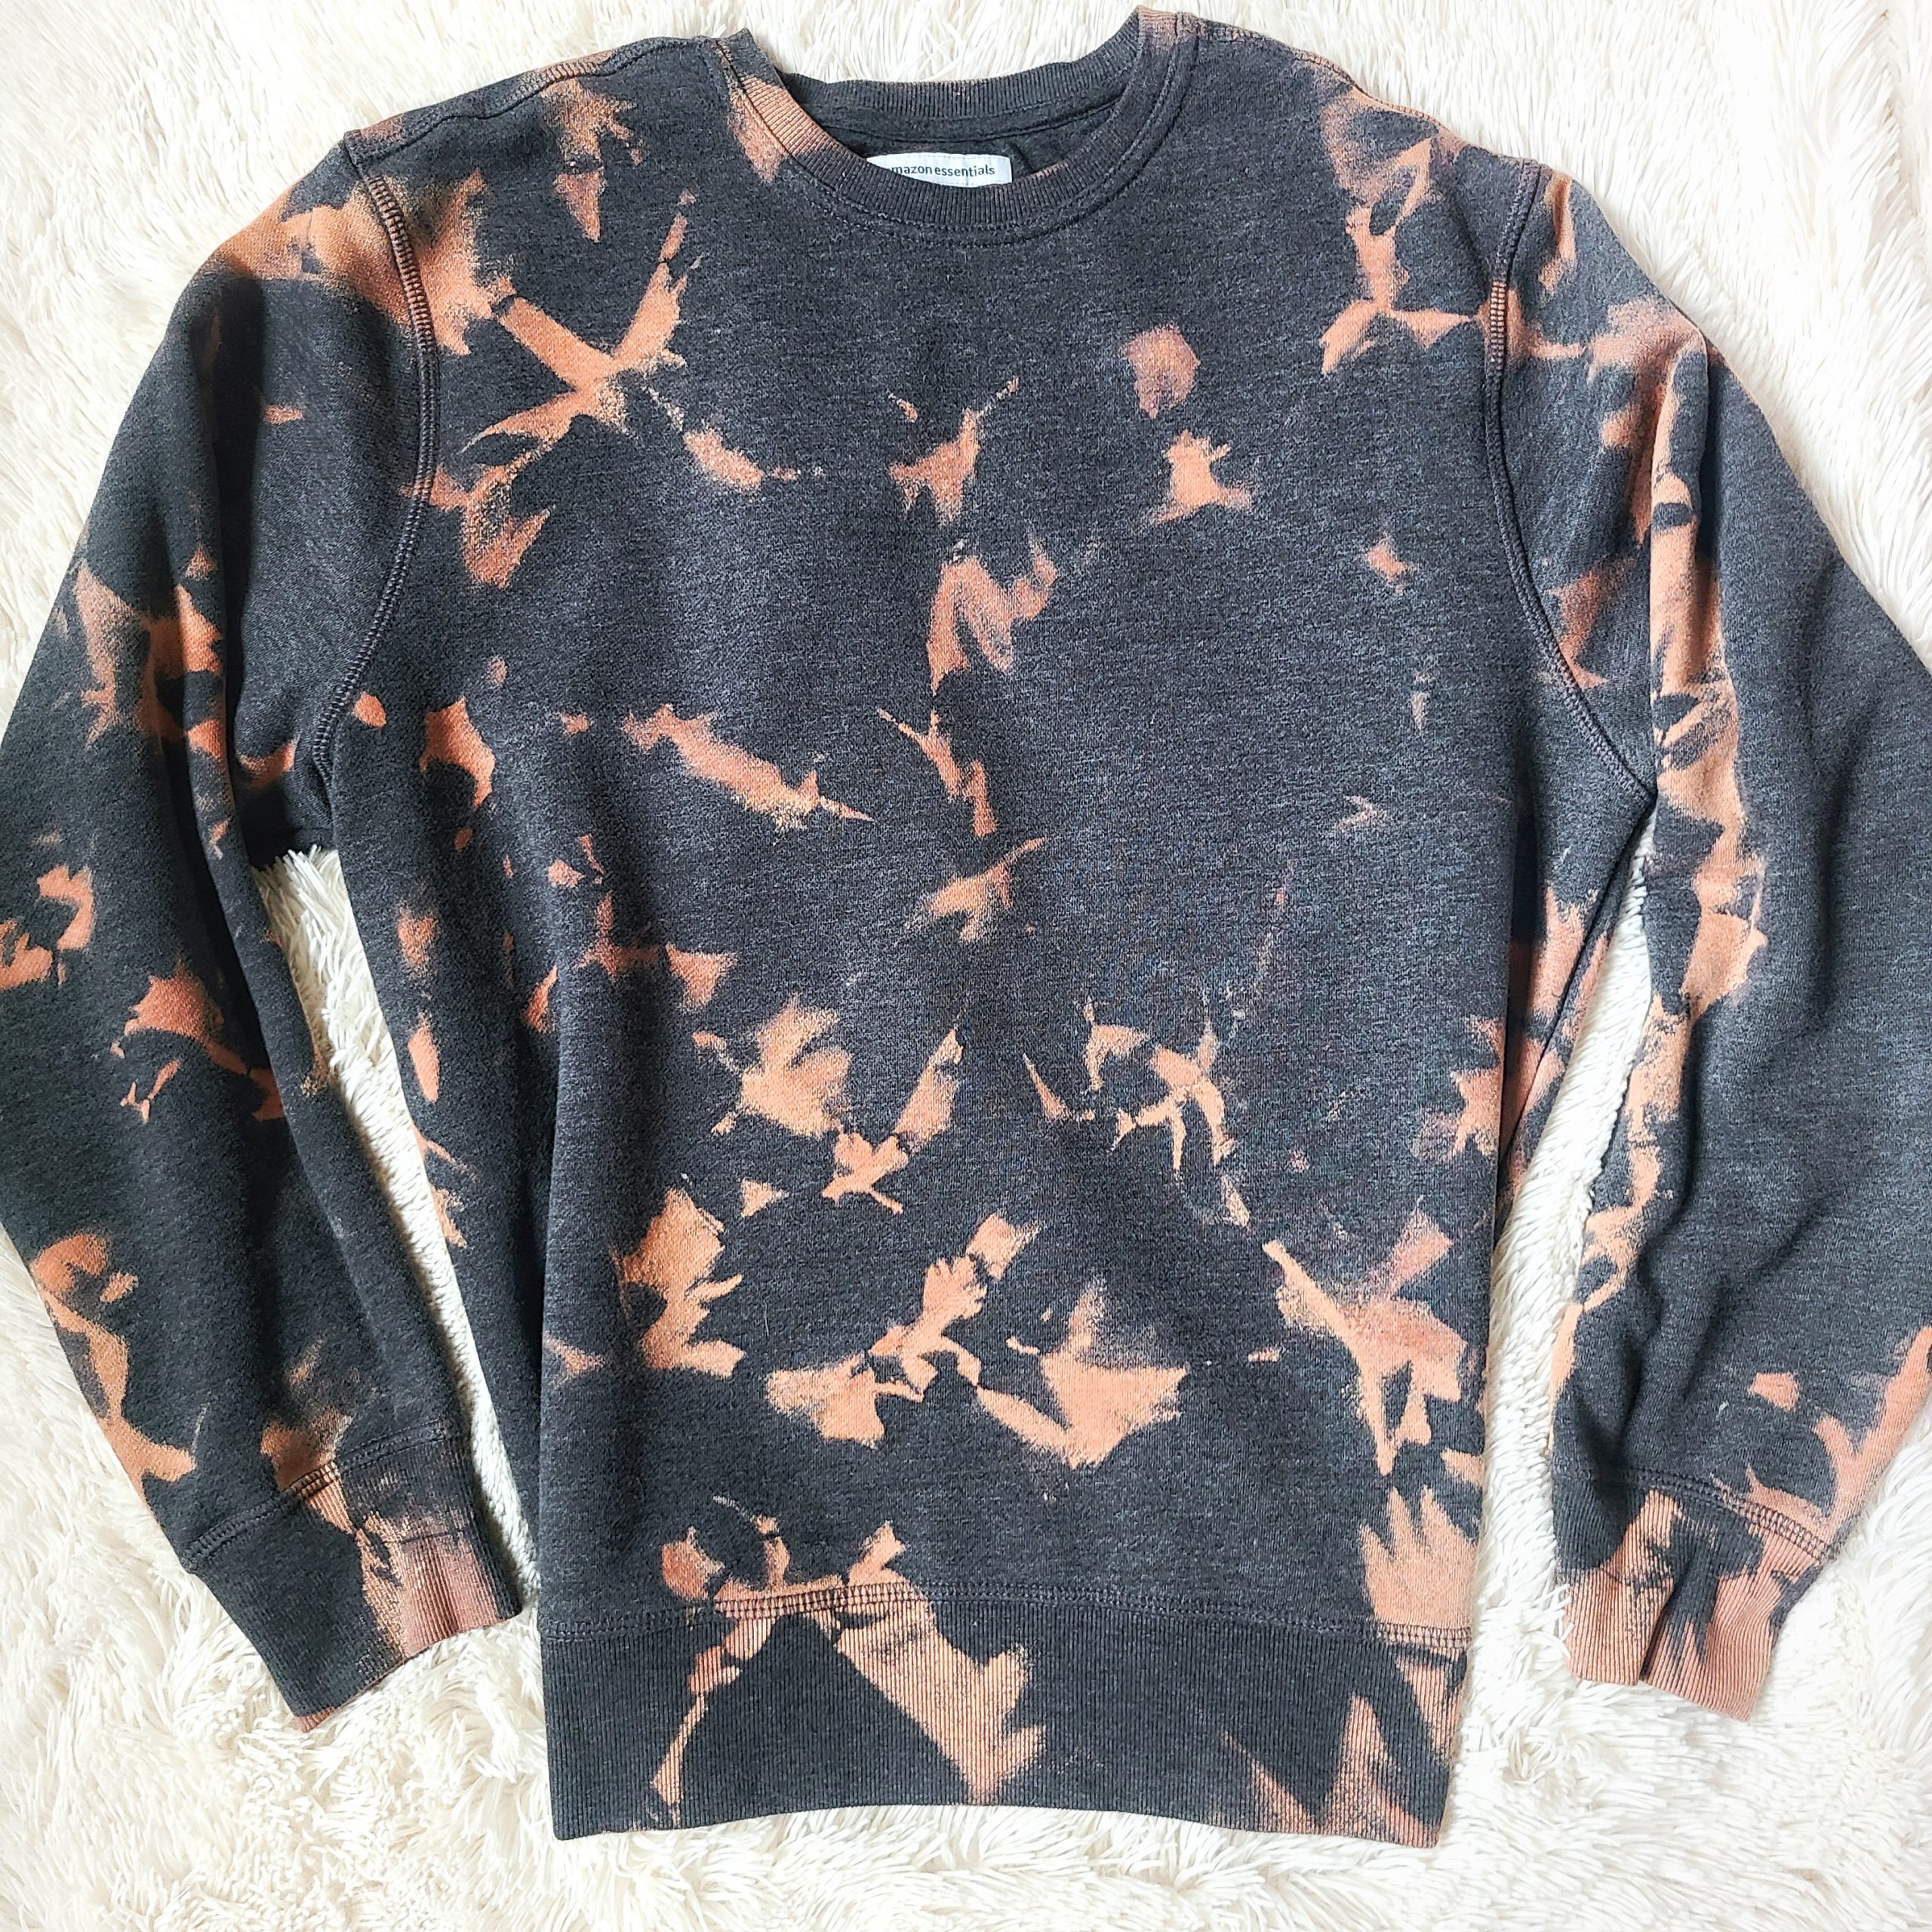
Different Ways to Tie Dye with Bleach
There are a few different methods on how to do bleach tie-dye which I’ll highlight below that would all look good used on this sweatshirt design. You may find ways that I don’t mention which will more than likely work just as well too.
Bleach Tie Dye Design Ideas:
- Crumple Bleach Tie Dying – crumple up your fabric evenly and secure with rubber bands. (This is the one I used!)
- Folding Bleach Tie Dying – use different folding techniques to create a unique piece. Learn more about the Folding Tie Dye Technique with this video.
- Clipping Bleach Tie Dying – use one or multiple clips or clothes pins to hold the fabric in place to create a fun design
- You can also follow along with some tutorials to make some unique patterns, such as these Halloween Tie Dye ideas.
Learn more about the supplies need to make a bleach dye shirt designs below.
Supplies
To reverse tie dye (take the color out) aka bleach dying, you’ll only need a few materials! Scroll on down to learn how to tie dye with bleach!

- Dark Colored Sweatshirt (dark t-shirt, sweatpants, or hoodie works too!)
- I used an Amazon Essential Sweatshirt in Charcoal Heather.
- You could use a Dark Grey, Black or even could try bleaching red sweatshirt too!
- Bleach + Water Mixture (I did 2 tablespoons of bleach per 1 quart of water)
- You can do a stronger mixture of 1 to 1 if you wish, but I preferred the lesser quantity of bleach for mine.
- Rubber Gloves (these are important)
- Protective clothing such as an apron (to keep the bleach splashes away)
- Rubber bands
- Spray Bottle
Ready to get started? If you have your supplies ready, then you are ready to start making your own bleached dyed shirt!
Follow the step-by-step tutorial on how to bleach dye a sweatshirt below!
How to Bleach Tie Dye a Sweatshirt
Step 1:
The first step is to gather supplies. First you’ll need a dark-colored material sweatshirt or hoodie, rubber bands (we are using the crumple method mentioned above), bleach mixed with water in a spray bottle, gloves, and bucket.
With spray bleach tie dye I highly suggest bleaching outdoors or in a well-ventilated area for your safety as well as wearing a protective covering to protect your clothing from splashes.
Step 2:
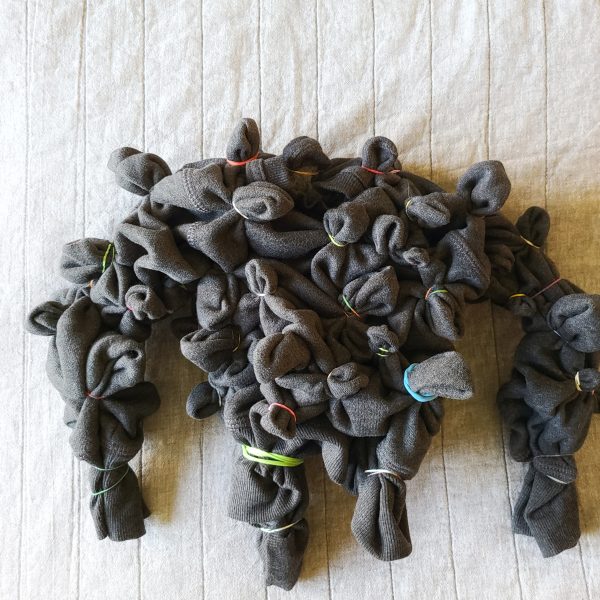
Place rubber bands in varying sizes all around the sweatshirt including the front and back of the sleeves, cuffs and the bottom ribbing. You can use more or less rubber bands depending on how much of the bleach dye design you’d like to show. I used many rubber bands, as you can see below. 🙂
Step 3:
Next, make sure you are in a well-ventilated area, outside is preferable. After putting on gloves, fill a spray bottle with 2 tablespoons bleach per 1 quart water bleach to create a bleach water mixture. You may also choose to get the sweatshirt wet before spraying, but I started with a dry sweatshirt in this example.
Step 4:
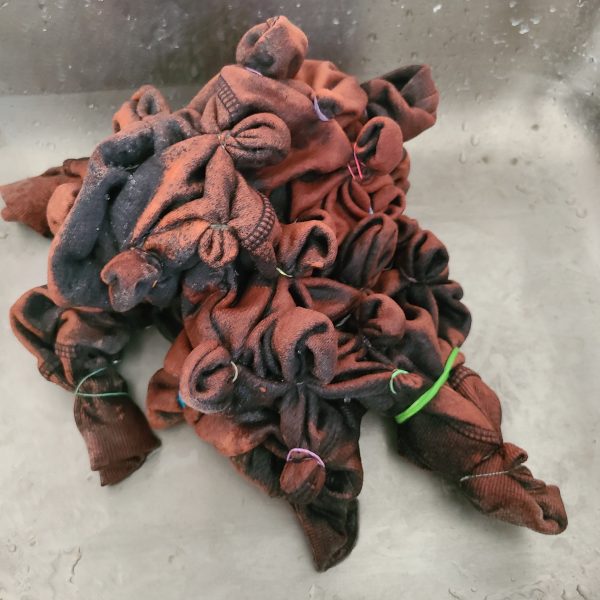
Lay the rubber-banded sweatshirt down in a bucket or on grass to begin. Spray around the sweatshirt sporadically with the bleach mixture. I sprayed some spots of the sweatshirt with more of the bleach mixture so that it would be more stripped of color or vibrant.
Step 5:
You’ll want to let it rest for a few minutes, making sure to keep an eye on the material you are bleach dying to see how the color changes. Once you’re satisfied with how much it has changed, you will then rinse out the sweatshirt by running it under cold water to get all the bleach out, taking care to remove all the rubber bands.
Step 6:
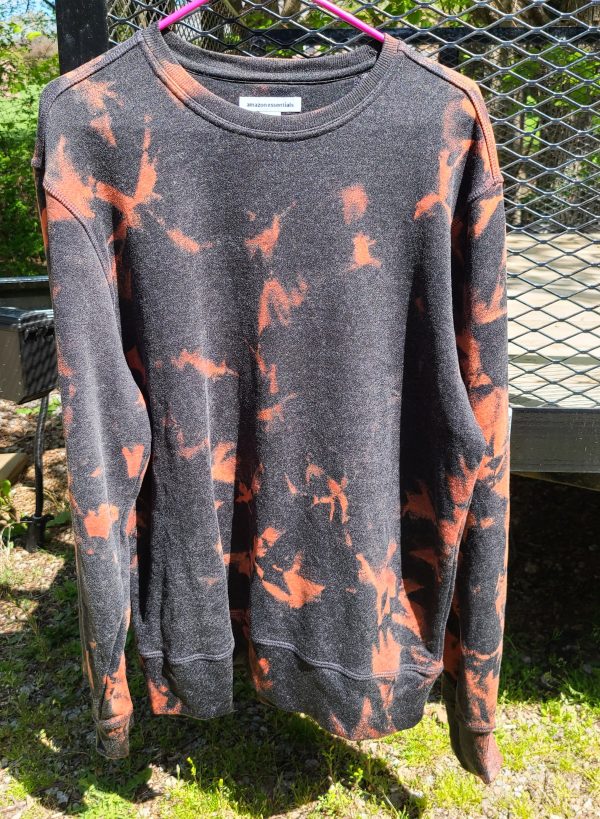
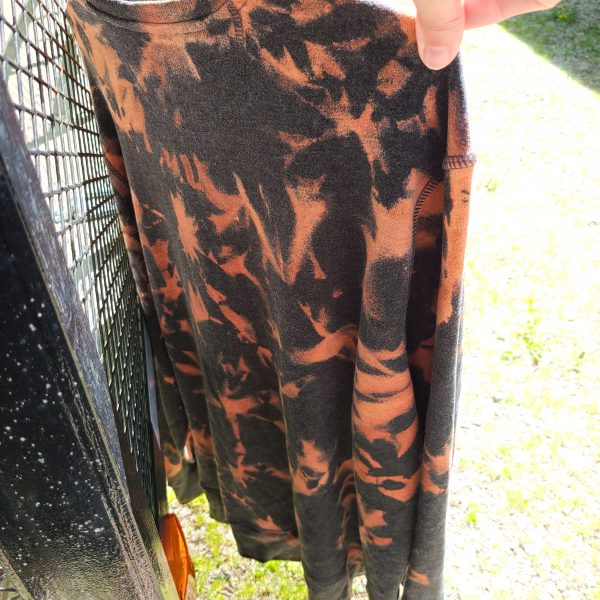
Hang up your newly bleached sweatshirt outside to dry in the sun for about 6 hours or until dry. You may also like to put it in the washing machine and run it through on a cold cycle with cold water as the initial rinse alone, so it doesn’t stain other clothing. Hang to dry. Either way, If you decide to only rinse once or do the rinse and wash, it will work great.
Step 7:
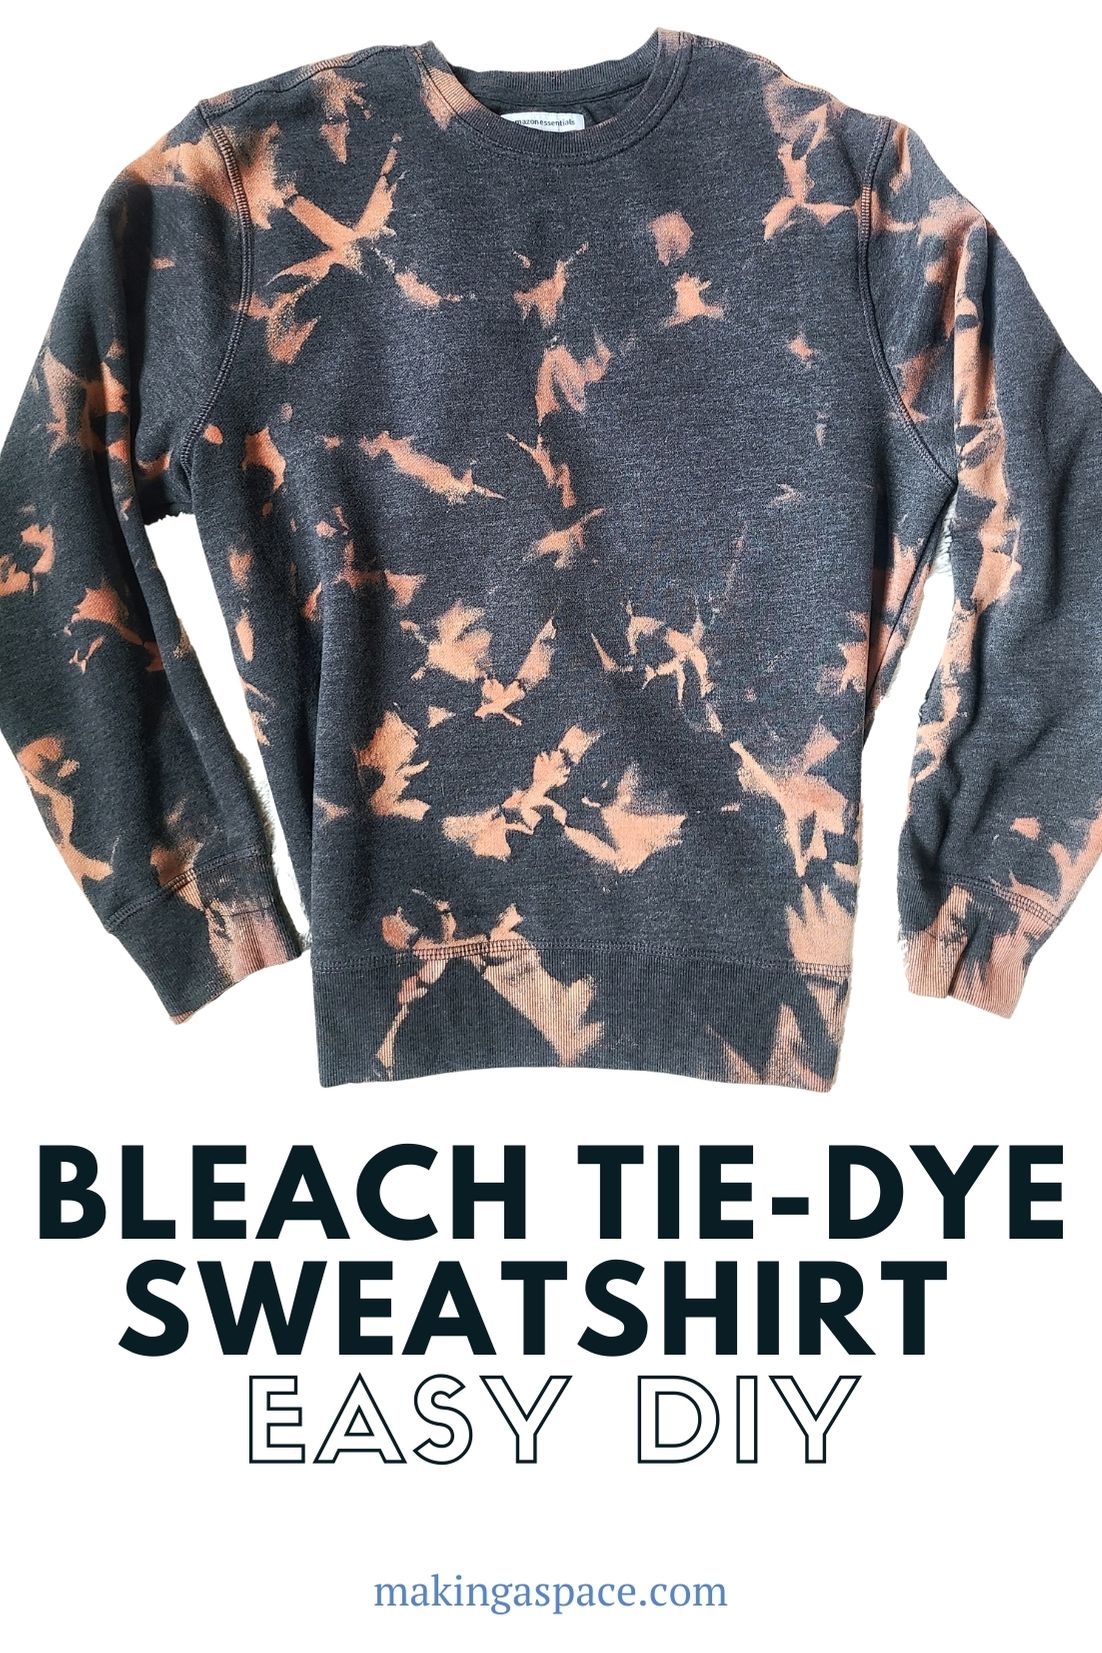
Wear your new creation and tell everyone how easy it is to DIY a bleach dyed sweatshirt!
I hope you enjoyed this bleach dye tutorial! If you have any questions, please feel free to email me at makingaspaceblog (at) gmail.com! Be sure to check out some common questions about bleach dying below.
Common Bleach or Reverse Dying Questions
How Do You Tie-Dye a Black Shirt (or any clothing) Without Bleach?
You can use toilet bowl cleaner and peroxide as an alternative to bleach when you want to reverse tie dye.
How Do I Get my Black Clothing to Bleach to White instead of Orange?
You will need to let the bleach and water mixture sit longer on the fabric to fully have it turn white and remove the black completely.
More DIY + Craft Posts You May Enjoy
- 10 Summer Paper Plate Crafts Your Kids Will Love
- Easy to Make Money Lei Necklaces for Graduation 2025
- 15 Cool Tie Dye Patterns And How to Make Them
- The Best How to Tie Dye for Beginners Guide
- The Best Halloween Tie Dye Projects (9 Easy Ideas)


4 Comments