The Best How to Tie Dye for Beginners Guide
If you are interested in learning more about tie-dying, then you have come to the right place. Below I’ll go over how to tie dye, what tie dying is, the materials needed to tie-dye as well discuss the different patterns you can create with fabric.

What is Tie Dyeing?
Tie dyeing is adding color to fabric that has usually been bound with rubber bands or string. Most people tie-dye fabric using a tie-dye kit bought from a local craft store.
Unique tie dye patterns can be created with the way the string or rubber bands are placed, as well as where the color is applied.

You can also reverse tie-dye, which takes away color instead of adding to it like the traditional tie-dye technique mentioned above. Reverse Tie Dying is a technique that can be done at home without a kit.
How to Tie Dye Shirts (+ more!)
Follow the steps below to find out which materials you will need to tie-dye as well as the steps to follow to complete a tie-dye project.

Materials Needed for Tie Dye
- Fabric or clothing item like socks, sweatshirts, bags and more that are in a lighter color. Most will use a white colored fabric when tie dyeing.
- Plastic squeeze bottles with tips that hold about 2 oz. (These can be found at local craft stores, or they are included in most tie-dye kits)
- Dye (powder or liquid)
- Rubber bands or string
- Gloves
- Plastic drop-cloth or garbage bags
- Wire rack (optional)
- Storage bag that can be resealed.
How to Tie Dye
- Pre-wash: Wash your fabric or clothing item before beginning the tie-dying process.
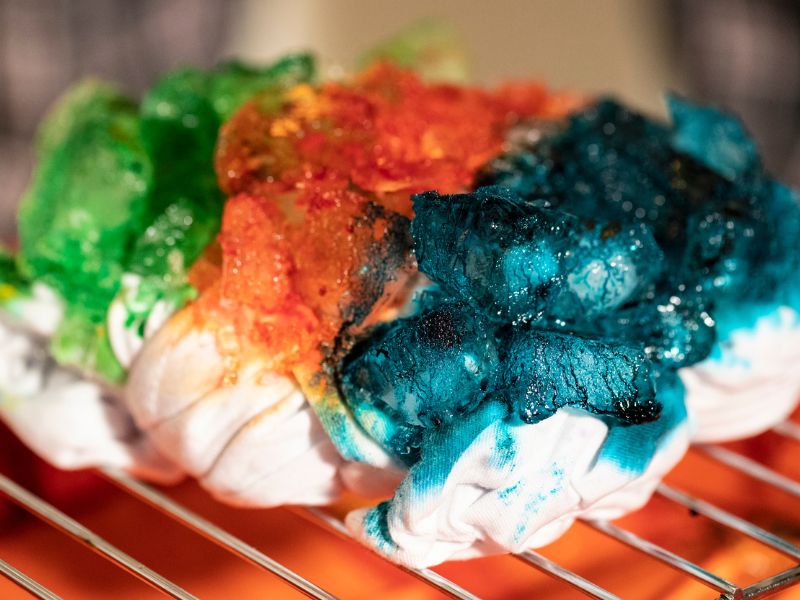
- You should prepare your workspace and supplies. Drop-cloths or garbage bags can be used to cover any surfaces. If you have a tie-dye kit, follow the instructions to make the dyes. Use a wire wrack overtop of the garbage or cloth to prevent staining of the surface and pooling of the dye.
- If you’re using a pattern, choose and fold it. (see below for pattern ideas and folding techniques). Before beginning the tie-dye process, decide on your pattern and the colors you want to use to ensure that you have all the necessary materials.
- Tie your pattern together. Use rubber bands to hold your item together. It will take more dye to penetrate the tightly bound patterns, and the opposite is true for more loosely rubber-banded items.
- Dye your item. Next, put on your gloves and start squeezing the dye onto the fabric of your item. Have fun with how much dye you add and the colors you pick! This part is what will make the tie-dye project unique to you. Continue applying the dye so that the same color goes over the edges and the back.
- Let the project sit. Keeping the rubber bands on, place the project in a sealed bag, such as a gallon plastic bag. Your item should be kept damp, so the dye can fully penetrate it, which is about 6-8 hours.
- You should rinse and wash the item. Remove the rubber bands by carefully cutting them off and rinse your item with cold water. When you are rinsing the item, make sure to be careful of staining. Then, wash and dry your items according to the instructions for your dye kit.
How to Tie Dye Video Tutorial
How to Tie Dye With Bleach
Bleach tie-dyeing is a technique that takes the color out of an item instead of adding it like traditional tie-dying does. You use bleach to take the color out of dark-colored materials, which is the opposite of what a colorful tie-dyeing would be like, since you add color to a white piece of fabric.
Occasionally, you will hear this technique called reverse tie-dying, since it is technically taking the color out of an item instead of applying it.

Materials Needed for Bleach Tie Dye (aka reverse tie-dye)
To reverse tie-dye (take the color out) aka bleach dying, you’ll only need a few materials! Scroll on down to learn how to tie dye with bleach!
- Dark Colored Sweatshirt (dark t-shirt, sweatpants, or hoodie works too!)
- I used an Amazon Essential Sweatshirt in Charcoal Heather.
- You could use a Dark Grey, Black or even could try bleaching red sweatshirt too!
- Bleach + Water Mixture (I did 2 tablespoons of bleach per 1 quart of water)
- You can do a stronger mixture of 1 to 1 if you wish, but I preferred the lesser quantity of bleach for mine.
- Rubber Gloves (these are important)
- Protective clothing such as an apron (to keep the bleach splashes away)
- Rubber bands
- Spray Bottle
If you’d like to try your hand at reverse tie-dyeing, then follow along with our easy bleached sweatshirt tutorial! How to Reverse Tie Dye a Sweatshirt.
I also have a collection of other reverse tie-dye projects and bleached denim projects as well that you may enjoy too.
How to Tie Dye With Bleach Video Tutorial
Tie Dye Patterns and Shapes

There are a variety of different patterns and shapes you can make when tie-dyeing, such as Halloween Tie Dye shapes, for example. Take a look at a few of them below and see what you can create.
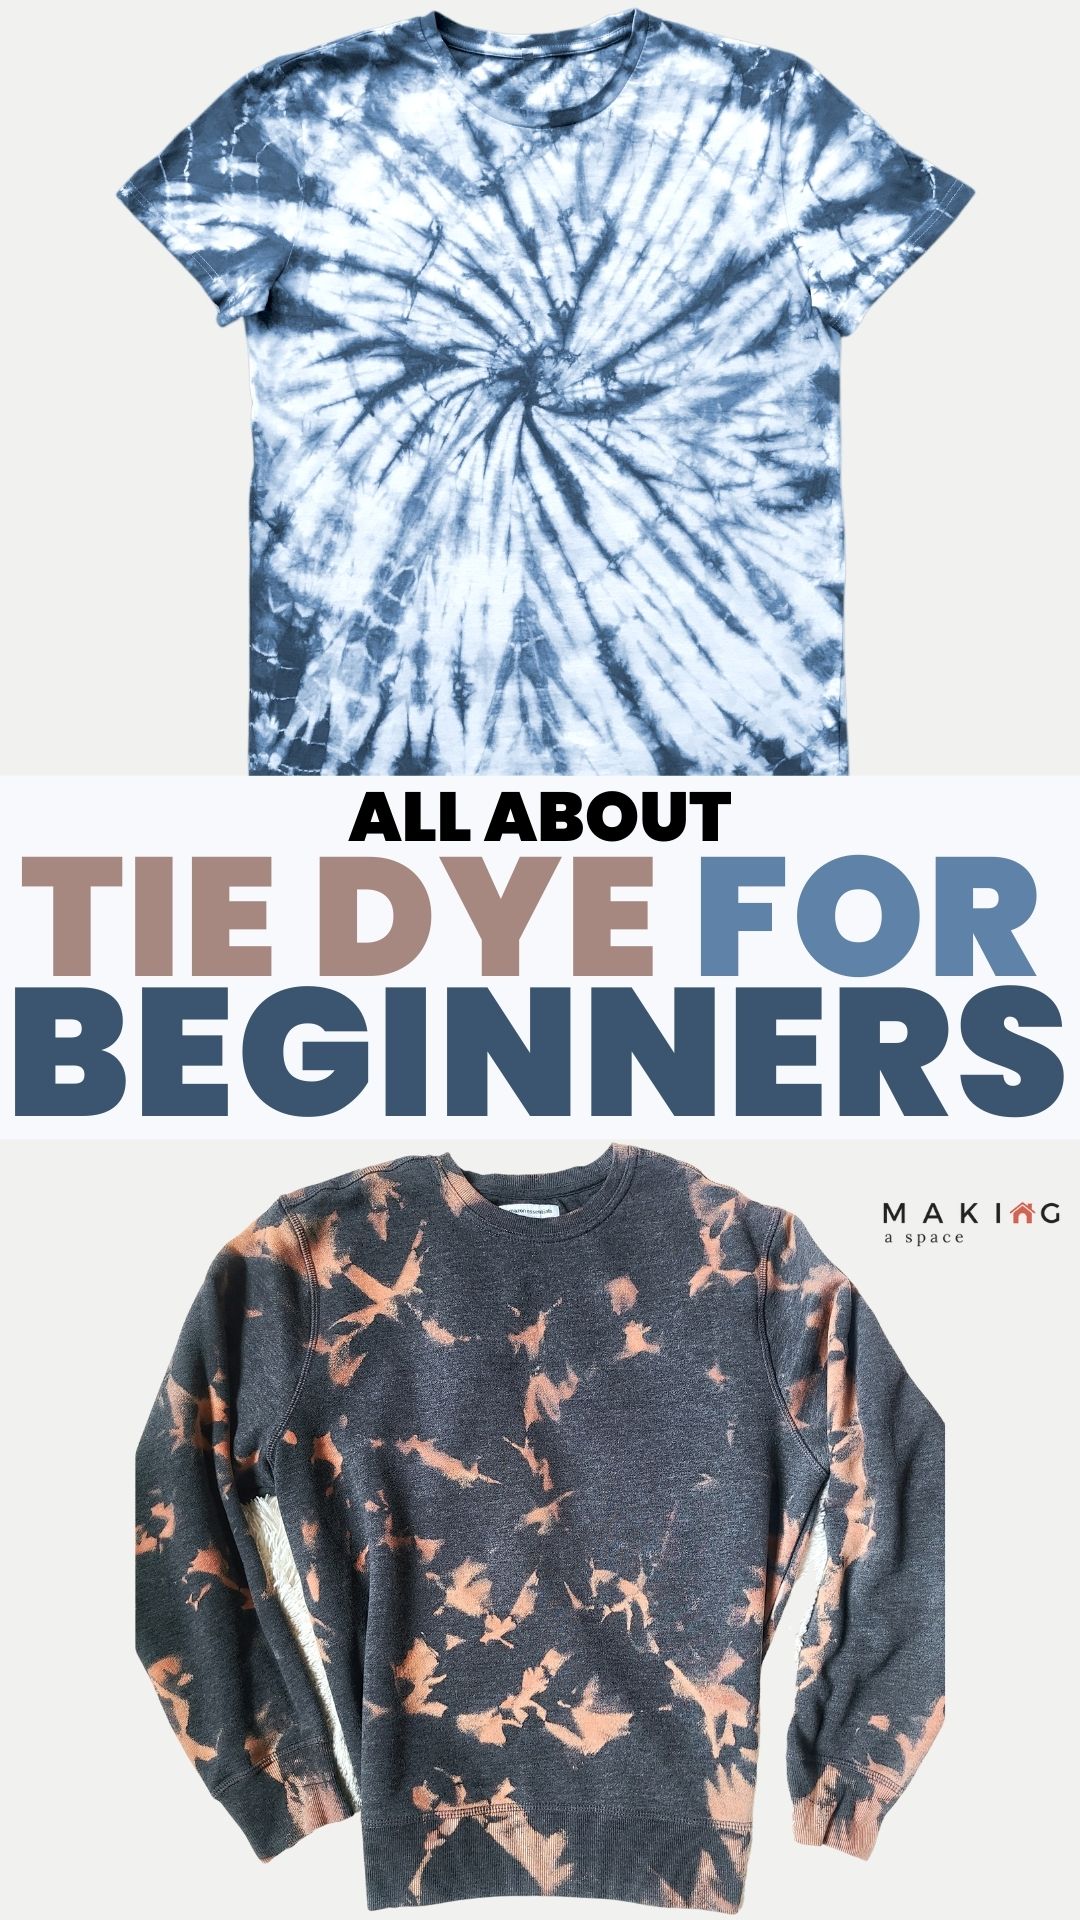
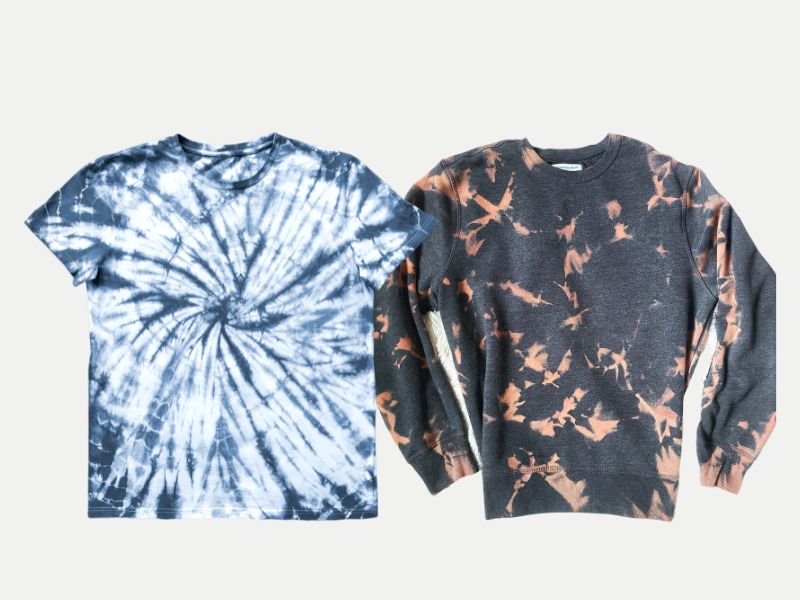
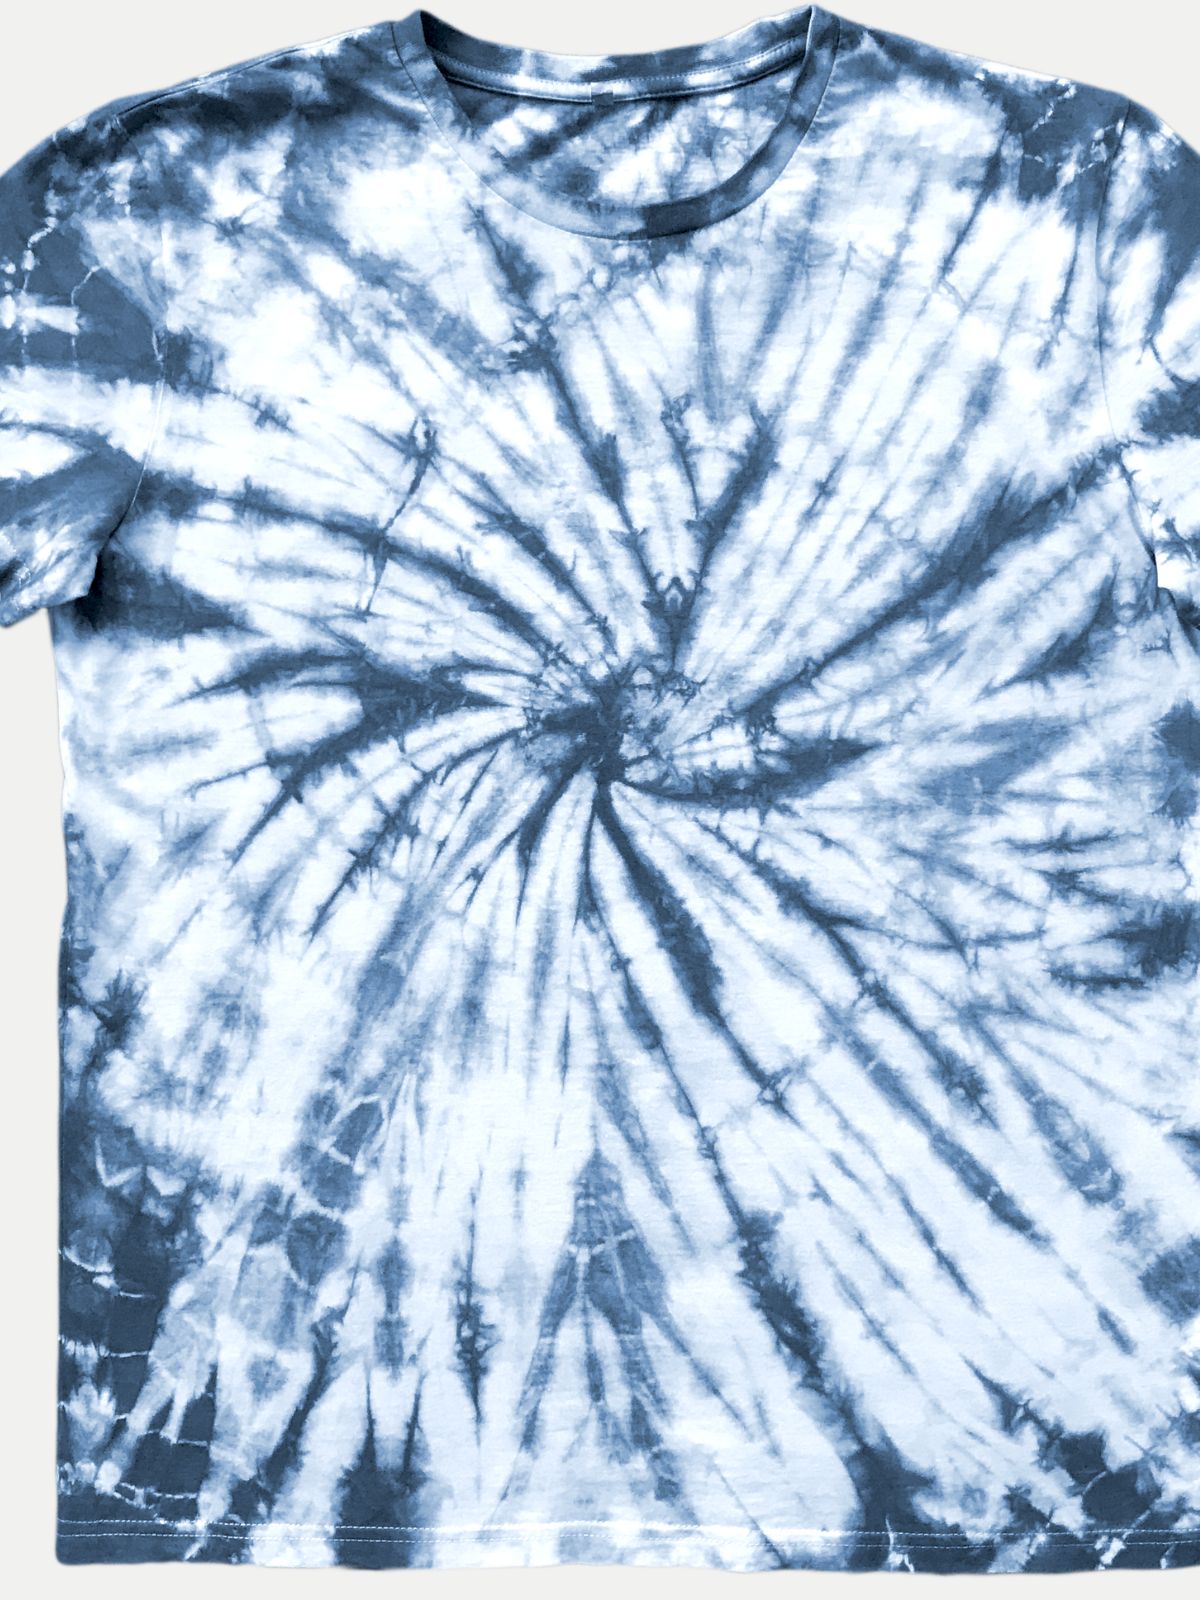
- Spiral Tie Dying – To create the spiral tie-dying technique, pinch the fabric at the center and swirl until it looks like a pinwheel. Place rubber bands around the center, so it almost looks like a cut pizza pie.
- Accordion Tie Dyeing: Learn all about the accordion tie-dye technique from Tulip.
- Ice Dye. Ice dyeing is the process of putting ice cubes on top of fabric and sprinkling dye on top of the ice. The melting process will dictate how the dye splits and bleeds, and where it lands on the fabric.
- Reverse Tie Dye
- Crumple Tie Dying – crumple up your fabric evenly and secure with rubber bands. (This is the one I used!)
- Folding Tie Dying – use different folding techniques to create a unique piece. Learn more about the Folding Tie Dye Technique with this video, so you can create some fun stripe tie-dye designs.
- Clipping Tie Dying – use one or multiple clips or clothes pins to hold the fabric in place to create a fun design
The techniques listed above are the most common shapes to create when tie-dying, but you are welcome to get creative and try different methods.
What Can You Tie Dye?
You could try to tie dye about anything you’d like! Below are a few of the most common things to do tie dye.
- Wash Cloths
- Hats
- Dish Towels
- Beach Towel
- Pillow Cases
- Socks
- Bags
- Napkins
- Curtains
- Blanket
- Shoes
- Sweatshirt
- T-Shirts
- Scrunchie
What kind of fabric would you tie dye on?? I’d love to try something unique like a tie-dye dog bed or maybe something even bigger like a hammock!
What is the Best Dye to Use for Tie Dye?
There are two types of dyes that you can use when tie dying, so the best dye will depend on what you are tie-dying which I’ll explain below.
- Fiber Reactive Dyes: These are dyes that bind permanently to the fabric, which will give you long-lasting color. Tulip brand dyes are considered a fiber reactive dye.
- Staining Dyes: These are dyes that stain fabric by coating it and will fade. Brands like Rit are considered staining dyes.
The best dye to use would be fiber reactive dye when tie dyeing projects.
What Does Soda Ash Do for Tie Dye Shirts and Fabrics? (aka sodium carbonate)
When you use a soda ash solution for tie-dyeing it helps raise the PH levels of the dye bath and make the color soak into the fabric better. So basically, it helps the fabric soak in color to make your tie dyed item vibrant. Learn more about using Soda Ash for Tie Dying from Tulip.
How Do you Wash a Tie Dye Shirt or Item?
Here show to wash tie-dye for the first time:
- Under cold running water, rinse out the excess dye.
- Take off the rubber bands and rinse until the water runs clear.
- The tie-dyed items should be washed with hot water and a gentle detergent.
- For the first few wash cycles, wash tie-dyed items separately from other laundry items.
5 Comments