How to Make Easy Bookmarks Out of Paper
If you love to read as much as I do, then you will know just how important a bookmark is.
As a reader, you will always want to make sure you to have a bookmark on hand or nearby you when you want to hold a place in your book.
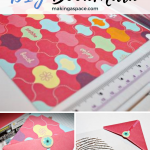
The solution is simple and not to mention fun! These paper bookmarks are easy to put together and can be personalized with your favorite craft paper colors or decorations (think stickers & brads!) .
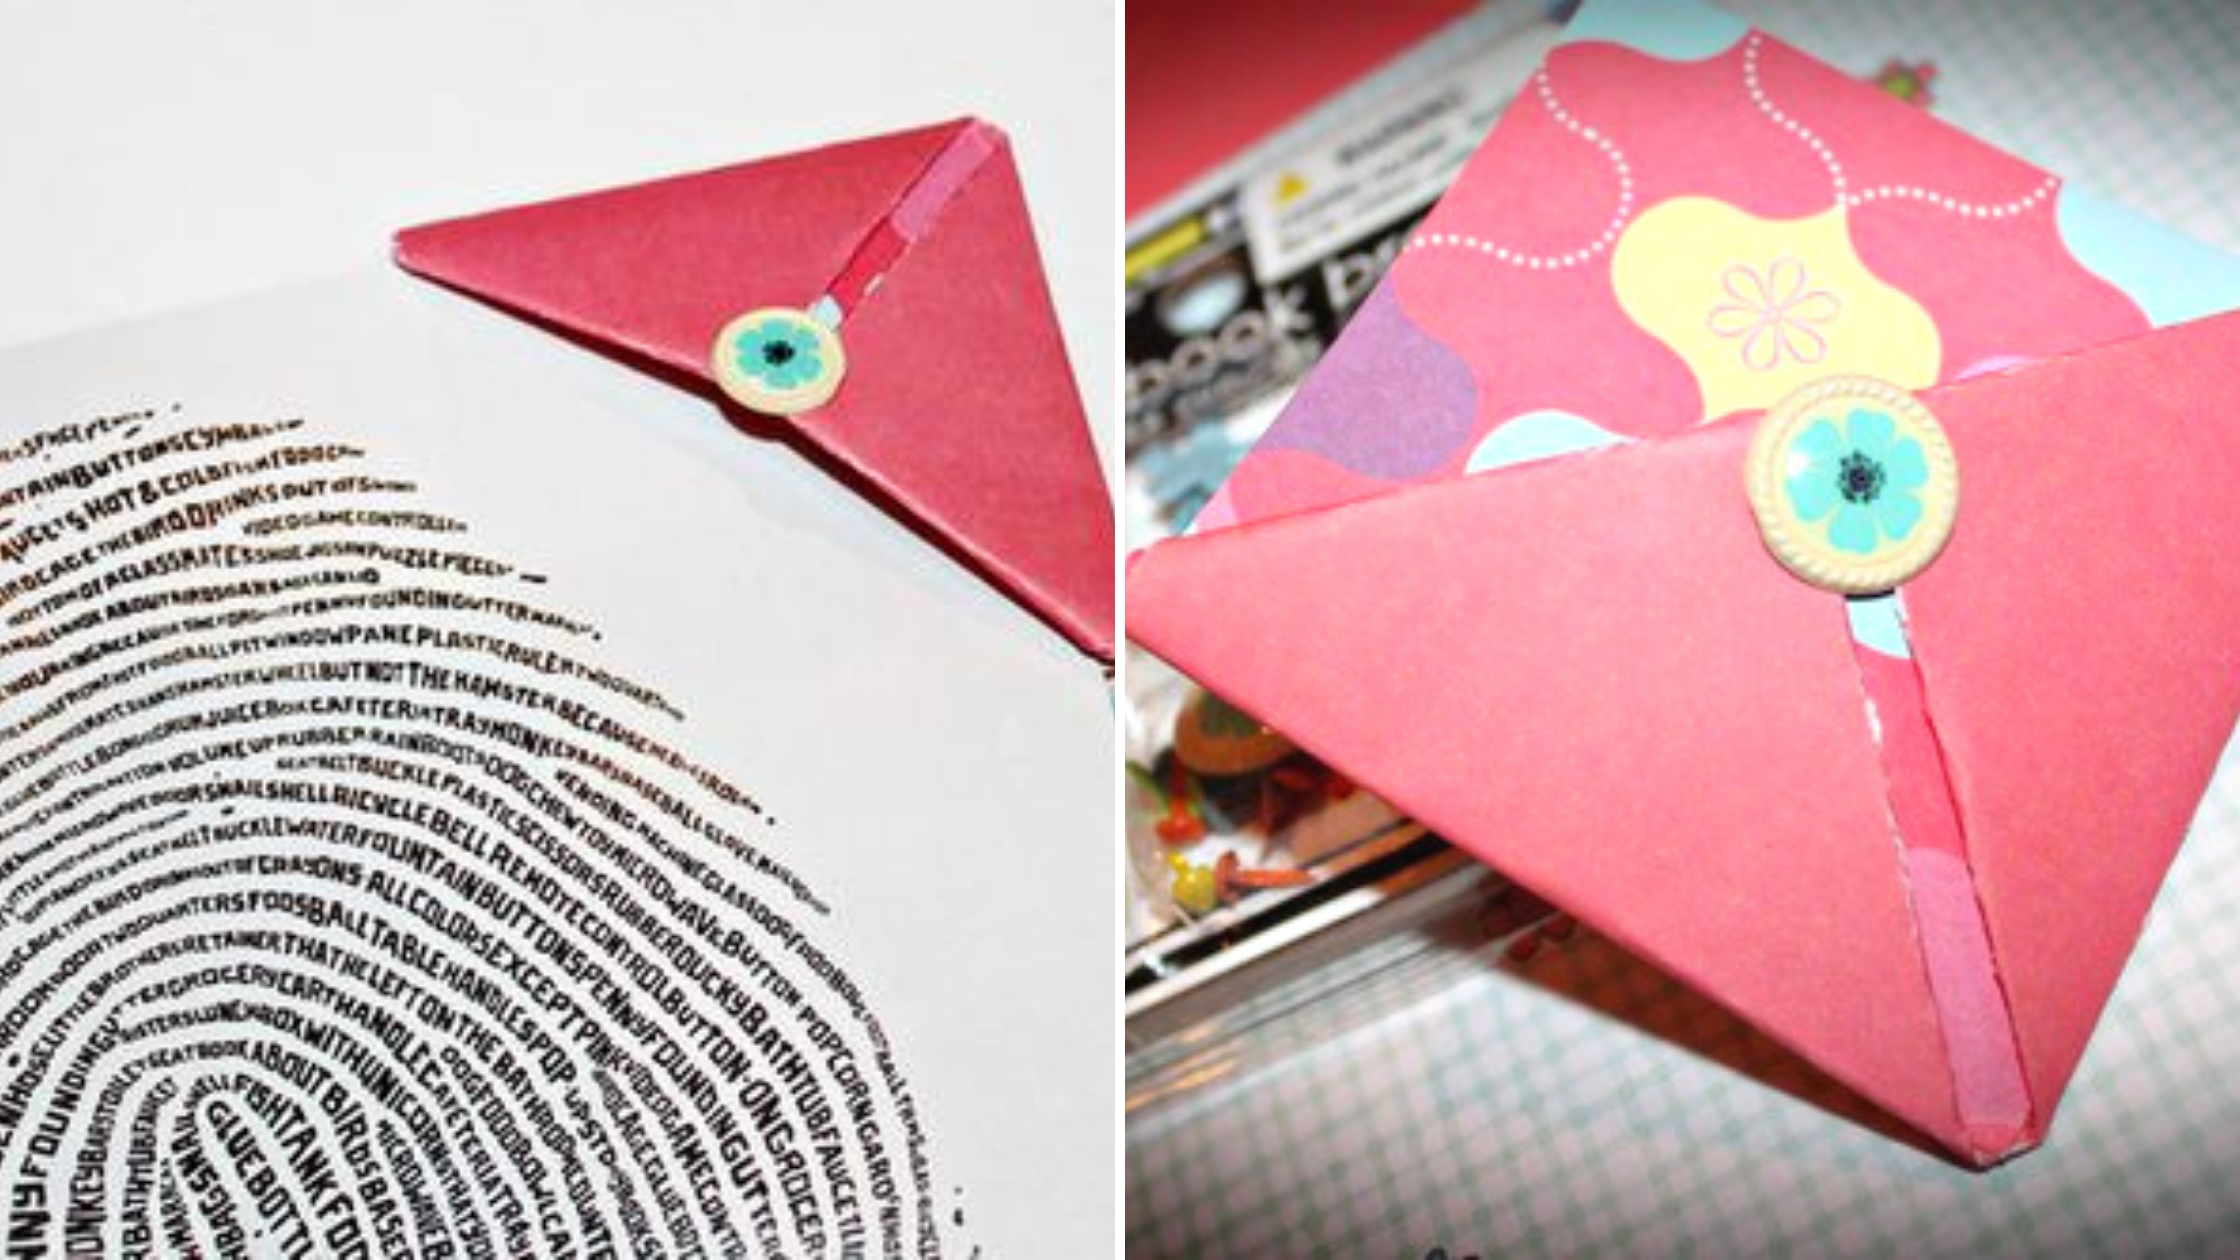
This super quick and easy DIY project is fun because it is something unique that you can make for yourself or others as gifts!
If you are in the middle of a couple of books like me, it is always good to have a couple of these handy, so I seem somewhat organized. You could even use these in a book club or group to give to your reading friends.
I also wanted to mention that these are great as a kid’s craft too! My kids even love making these bookmarks all by themselves (except they will need help with the cutting part) and giving them away to friends.
They really are that simple and who knows, you may get them excited about reading their next book!
You can use scrapbook paper or card stock for these. I recommended the card stock because they will hold up to use a lot better to daily use. And most local craft stores have quite a bit of different paper designs to pick meaning from your bookmark will truly be unique to you.
If you have 10 minutes or less you can make these bookmarks! Look through the supplies you’ll need to get started today.
Easy to Make Paper Bookmark Tutorial
Skill Level: Easy
Materials:
- Card stock
- Brads
- Paper Trimmer
- Stickers
Notes:
- Parental supervision is recommended when children are making these bookmarks.
How to Make a Paper Bookmark
Follow the easy steps below to make a corner paper bookmark in less than 10 minutes!
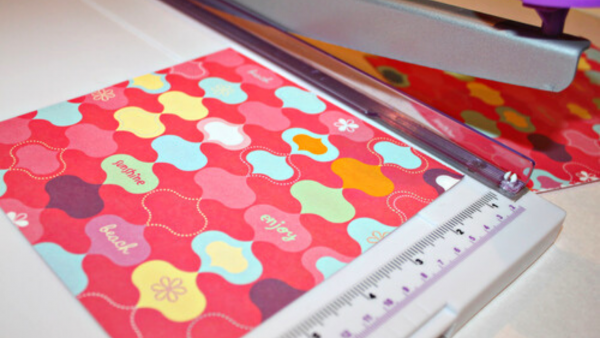
- Cut a piece of paper (or card stock) into a square of 6 inches by 6 inches
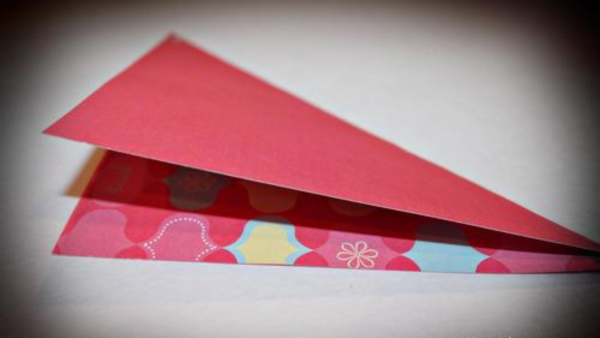
- With the right side facing down, fold your piece of paper in half diagonally into a triangle
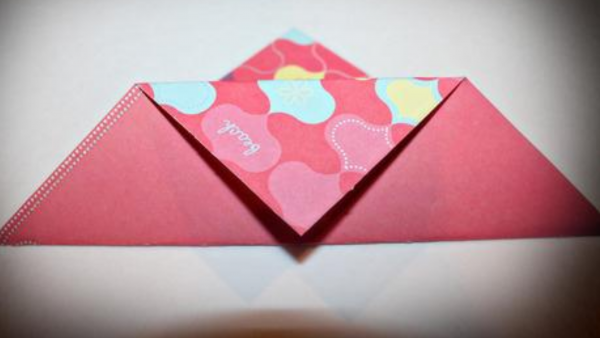
- Fold the top layer down to the base of the triangle
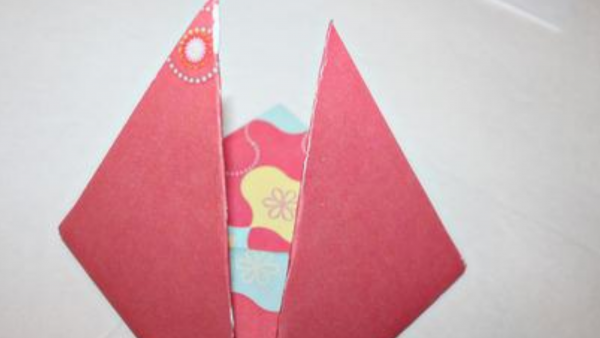
- Bring the side points up to the top point so that it makes a diamond
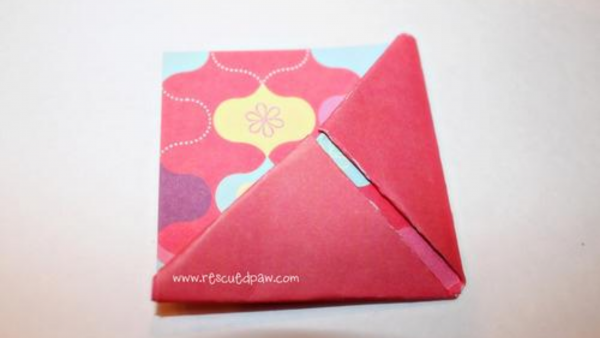
- Tuck the ends of the points you just folded down into the pocket that was made in step 3.
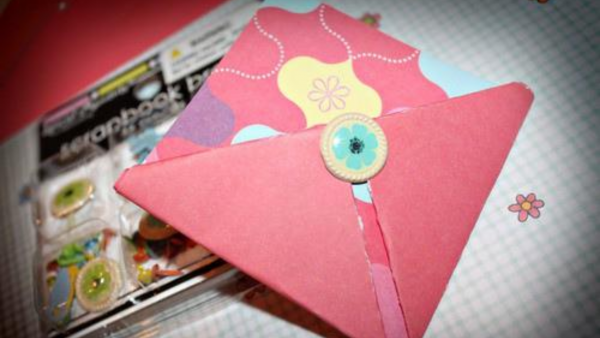
- Place a brad or stickers on top of your bookmark for an extra flare!
That’s it! You are done with your bookmark!
Keep repeating the steps above to make as many as you’d like in a variety of colors!
Enjoy!
More Free DIY & Organizing Ideas
- Learn How to Dehydrate Watermelon (+ Recipes)
- Simple and Delicious Three-Bean Chili (Slow Cooker Recipe)
- 8 Must Make Strawberry Cheesecake Desserts
- How to Make the Best Beer Can Chicken
- 4 Ways to Soften Brown Sugar Quickly
- Easy No Bake Chocolate Krispies Treat Recipe
- Top 3 Sweet and Simple Valentine Recipes
- Pineapple Pretzel Fluff Dip Recipe
- 10 Unique Sugar Cookie Recipes
- Ultimate Halloween BBQ Ideas for a Spooky and Fun Celebration
Just found your site through Pinterest… LOVING it!!! I came for the “Corner Bookmark” tutorial but I’ve “bookmarked” your page for all the other cool stuff! Thanks so much!
Thanks, Angela! Happy Crafting!!
-Krista