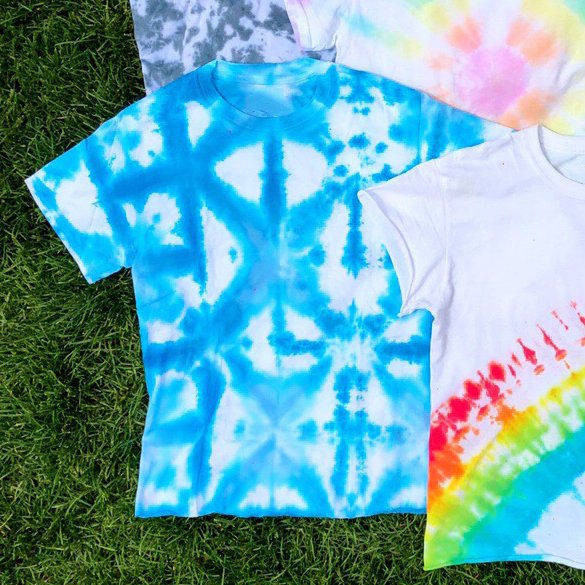
15 Cool Tie Dye Patterns And How to Make Them
These simple tie-dye folding techniques will help you create beautiful and one-of-a-kind designs. Some of my favorites include the crumple technique, the spiral pattern, and the bullseye design. Below, I’ll guide you through these patterns step by step so you can start making your own amazing tie-dye creations!
What is Tie Dye?
Tie-dye is a dyeing technique that uses bright, bold colors and patterns. Plus, Tie-dye is easy to do, too! Tie dyeing is adding color to fabric that has usually been bound with rubber bands or string. Most people tie-dye fabric using a tie-dye kit bought from a local craft store.
You can also reverse tie-dye, which takes away color instead of adding to it like the traditional tie-dye technique mentioned above. The reverse tie dyeing technique can be done at home without a kit.
The best thing about tye dying is the cool patterns that can be created with the way the string or rubber bands are placed, as well as where the color is applied.
Beginner Tie Dye Information
If you are new or are a beginner tie dyer, then read over the materials and how to tie-dye steps below.
Materials Needed for Tie Dye
- Fabric or clothing item like socks, sweatshirts, bags and more that are in a lighter color. Most will use a white colored fabric when tie dyeing.
- Plastic squeeze bottles with tips that hold about 2 oz. (These can be found at local craft stores, or they are included in most tie-dye kits)
- Dye (powder or liquid)
- Rubber bands or string
- Gloves
- Plastic drop-cloth or garbage bags
- Wire rack (optional)
- Storage bag that can be resealed.
How to Tie Dye
- Pre-wash: Wash your fabric or clothing item before beginning the tie-dying process.
- You should prepare your workspace and supplies. Drop-cloths or garbage bags can be used to cover any surfaces. If you have a tie-dye kit, follow the instructions to make the dyes. Use a wire wrack overtop of the garbage or cloth to prevent staining of the surface and pooling of the dye.
- If you’re using a pattern, choose and fold it. (see below for pattern ideas and folding techniques). Before beginning the tie-dye process, decide on your pattern and the colors you want to use to ensure that you have all the necessary materials.
- Tie your pattern together. Use rubber bands to hold your item together. It will take more dye to penetrate the tightly bound patterns, and the opposite is true for more loosely rubber-banded items.
- Dye your item. Next, put on your gloves and start squeezing the dye onto the fabric of your item. Have fun with how much dye you add and the colors you pick! This part is what will make the tie-dye project unique to you. Continue applying the dye so that the same color goes over the edges and the back.
- Let the project sit. Keeping the rubber bands on, place the project in a sealed bag, such as a gallon plastic bag. Your item should be kept damp, so the dye can fully penetrate it, which is about 6-8 hours.
- You should rinse and wash the item. Remove the rubber bands by carefully cutting them off and rinse your item with cold water. When you are rinsing the item, make sure to be careful of staining. Then, wash and dry your items according to the instructions for your dye kit.
Cool Tie Dye Patterns
Here are some different patterns and shapes you can make when tie-dyeing, such as Halloween Tie Dye shapes, for example. Take a look at a few of them below and see what you can create with these cool tie-dye patterns.
Read on down to find even more amazing and unique patterns you can make with tie-dye!
Cool Tie Dye Patterns + Techniques
Take a look below at some of the best tie-dye patterns you can use to create unique tie-dye creations on tees, pants and more!
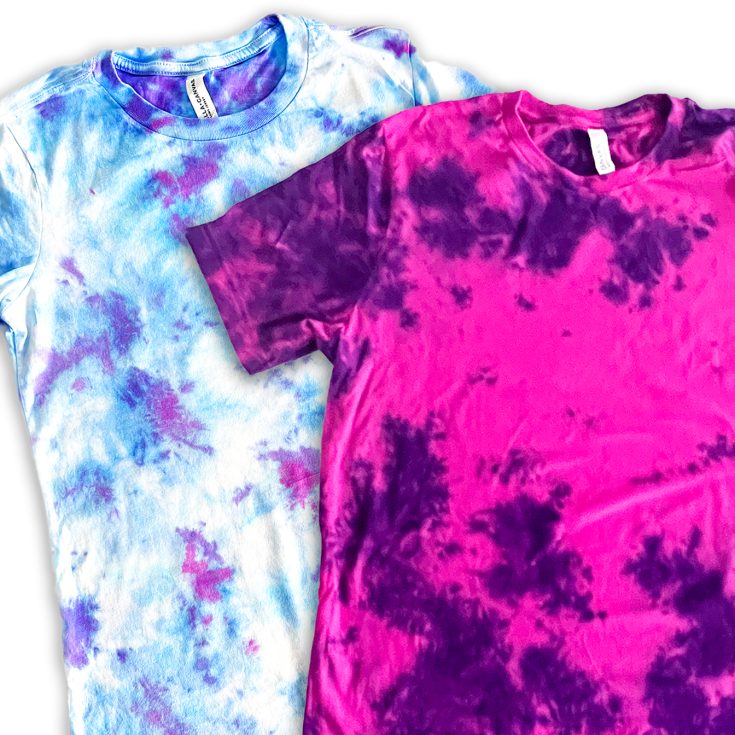
Easy Crumple Tie Dye Technique Pattern
Learn how to create a crumple tie dye pattern with these step-by-step photo tutorial, which is great for a beginner to start when learning how to tie dye.
Tie-dye with Clips Pattern
Follow along with the instructions to learn how to fold and clip your way to a gorgeous tie-dye pattern.
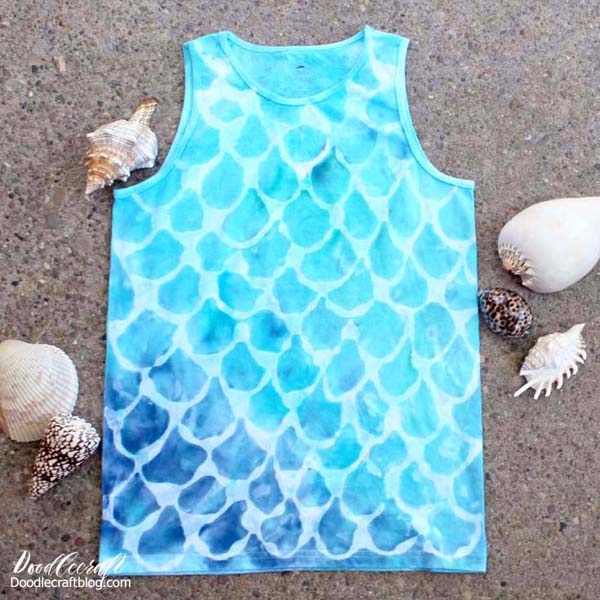
Mermaid Scales Tie Dye Shirt Pattern
You'll love creating this wonderful mermaids shirt using this fun tie dye pattern! Just follow along with the photo tutorials and instructions to be able to create your very own tie dyed mermaid tank!
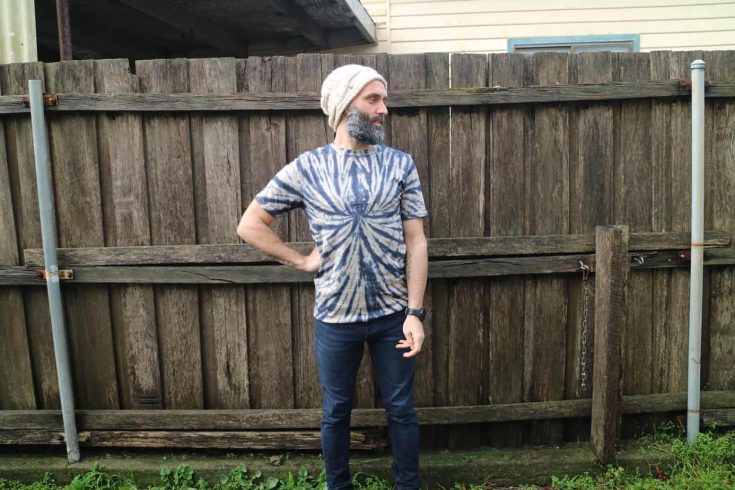
Spider Tie-Dye Shirt Pattern
Use this pattern to create a spider tie dye look using this free video tutorial. This pattern is easy to make and always turns out fun as well!
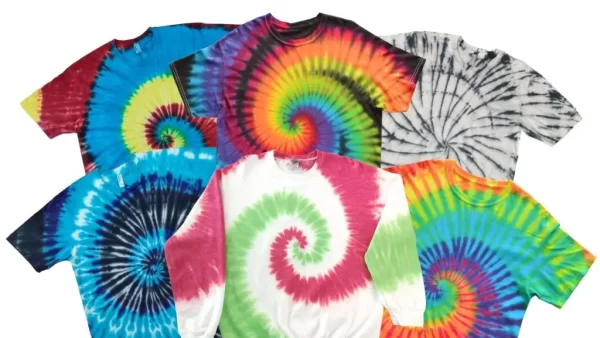
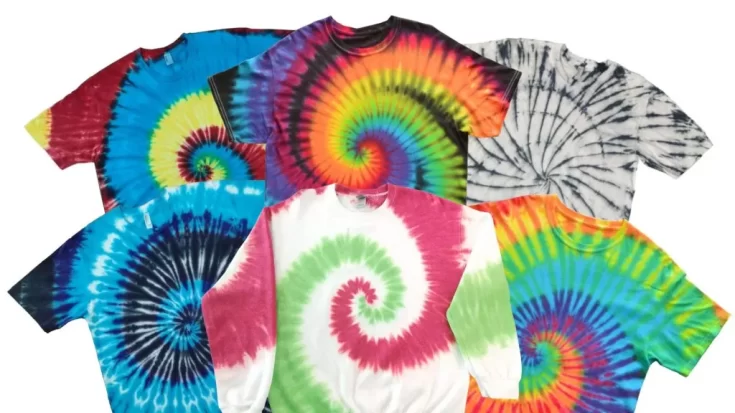
How to Tie Dye a Swirl (Spiral Technique) Pattern
Learn all about the spiral pattern or swirl pattern in tie-dying with these easy to follow instructions. You can follow along with the video tutorial as well as the detailed photo tutorials as well!
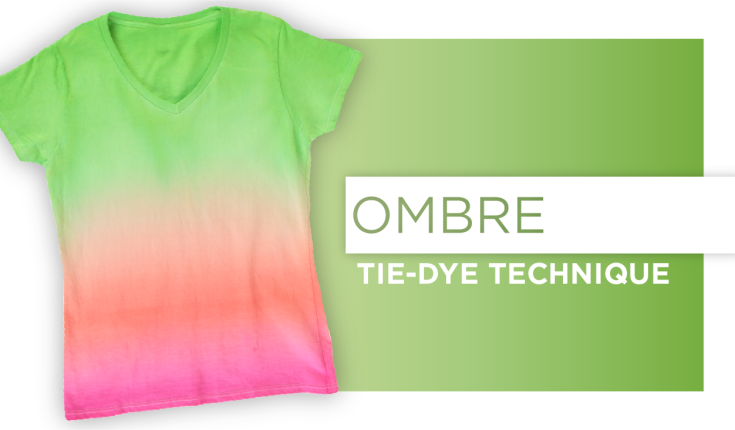
Ombre Tie-Dye Technique
This fun ombre tee pattern is fun to make with tie-dye and easy as well!
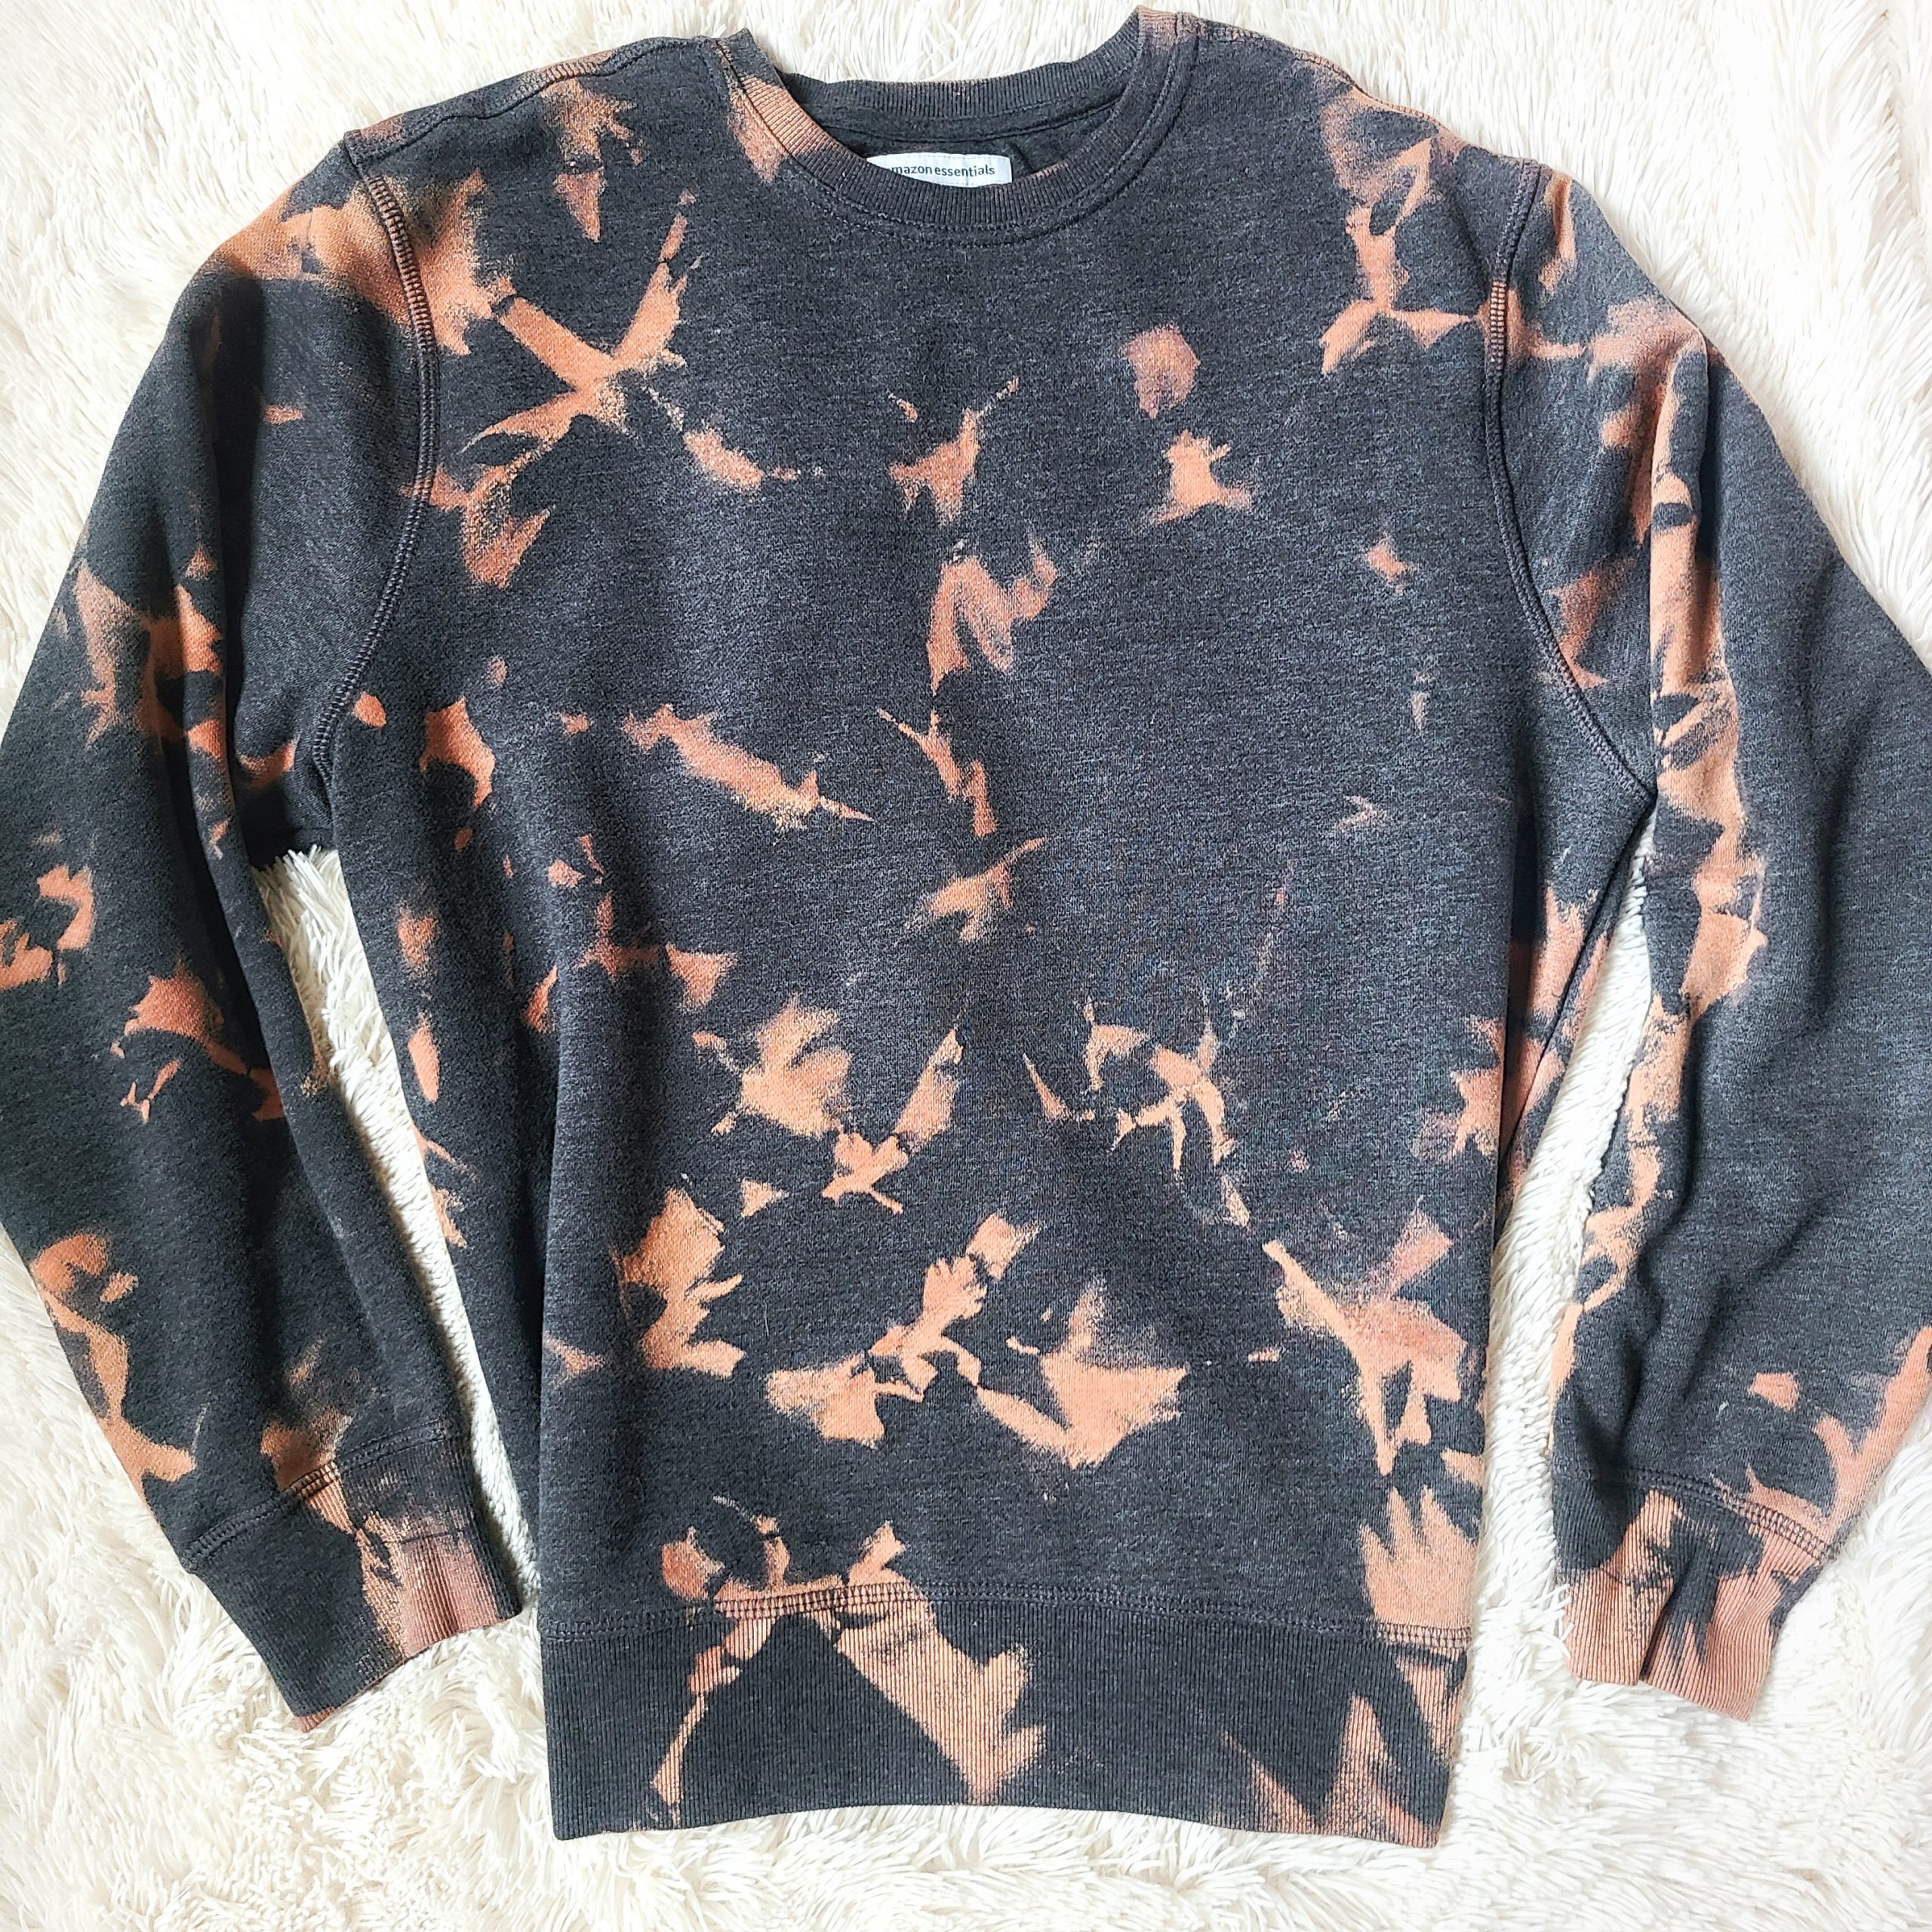
Reverse Tie Dye Crumple Pattern
Use just bleach to make these reverse tie dye pattern on a sweatshirt with this easy step by step tutorial.
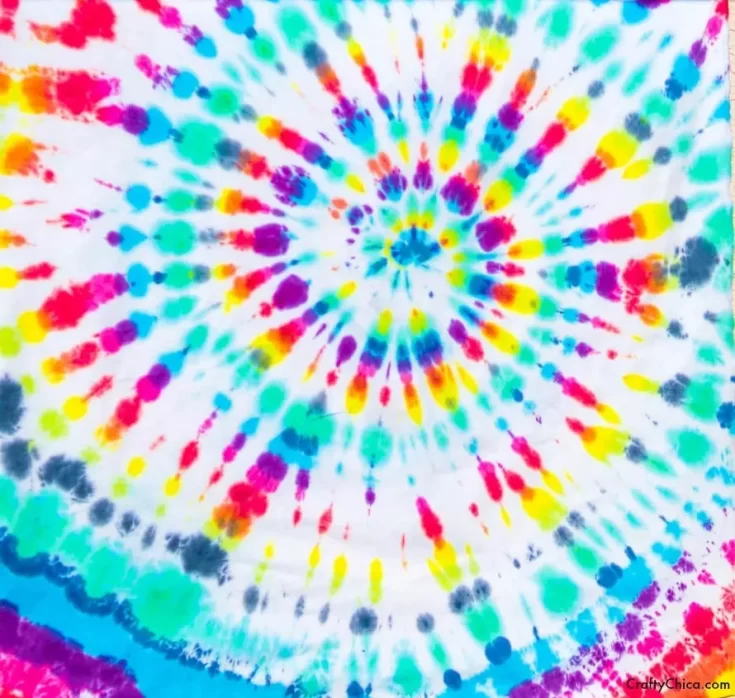
Tie Dye Rainbow Swirl Pattern
Learn how to make a rainbow spiral with these easy to follow tie dye pattern tutorial.
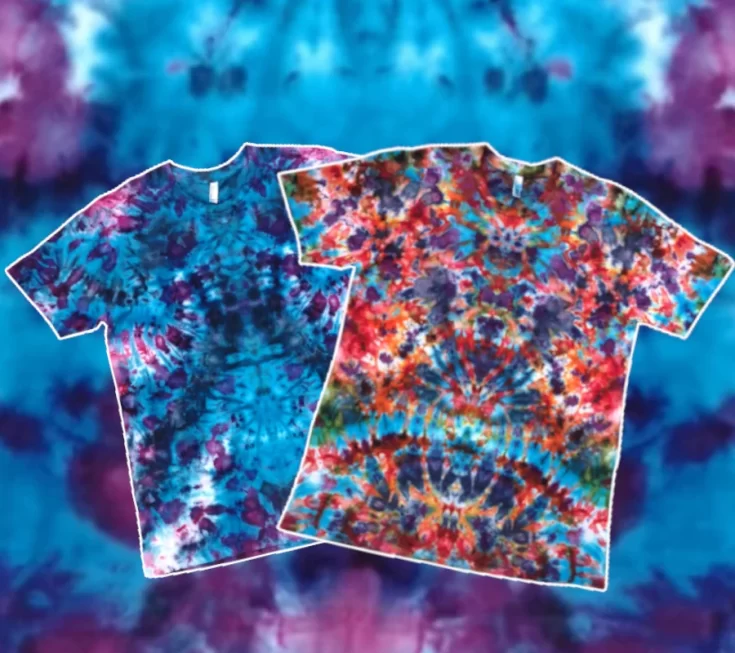
How to Tie-dye with Ice Cubes (Ice-dye Technique)
Learn how to tie dye with ice with these easy tutorial and pattern!
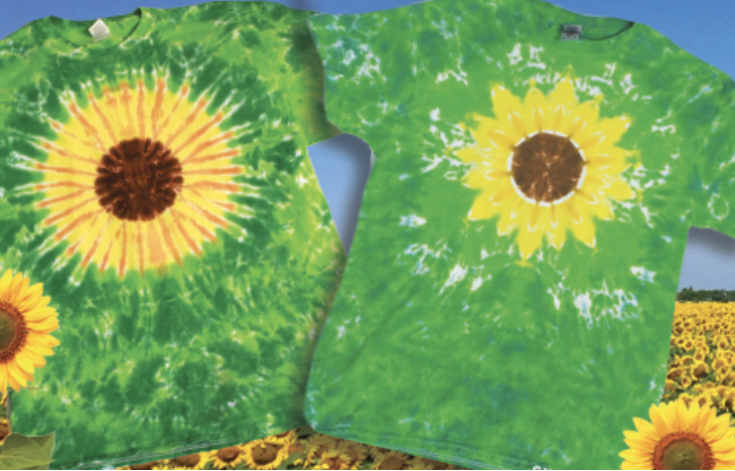
Sunflower Tie-Dye Patterns
Follow along with these two video tutorials to create sunflower patterns with tie dye!
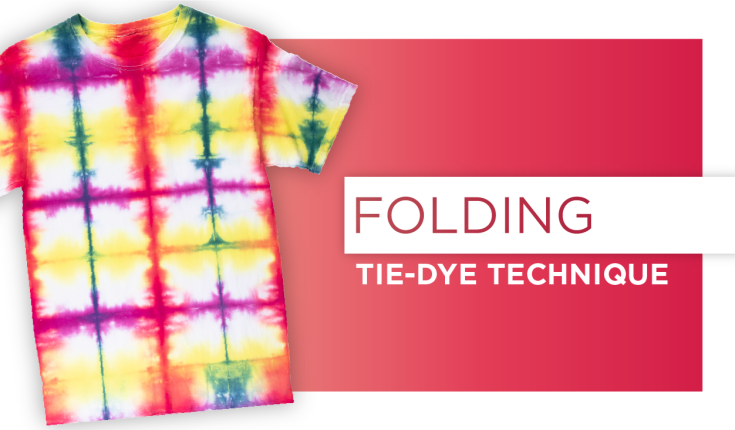
Folding Tie-Dye Technique
Learn these easy technique of folding in tie dye to create unique and fun patterns!
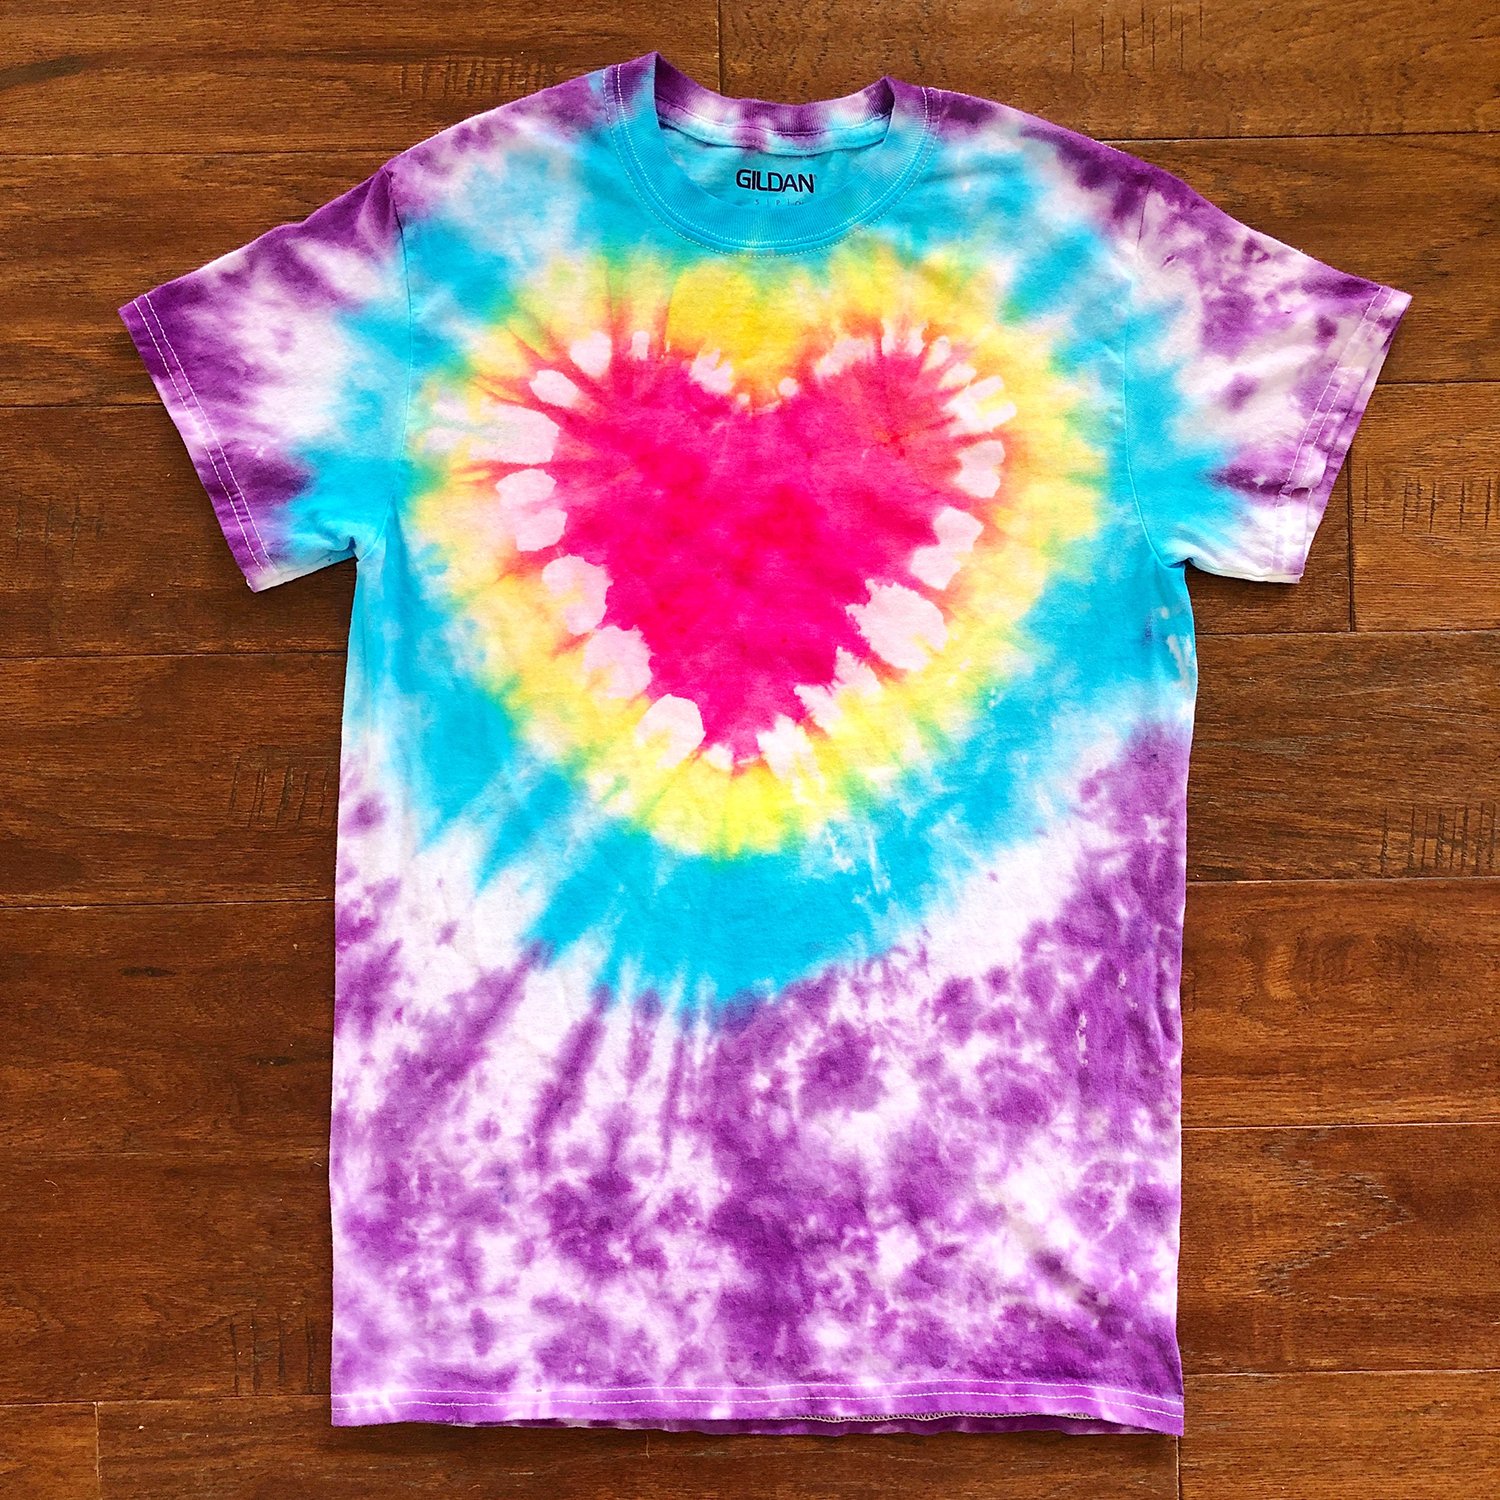
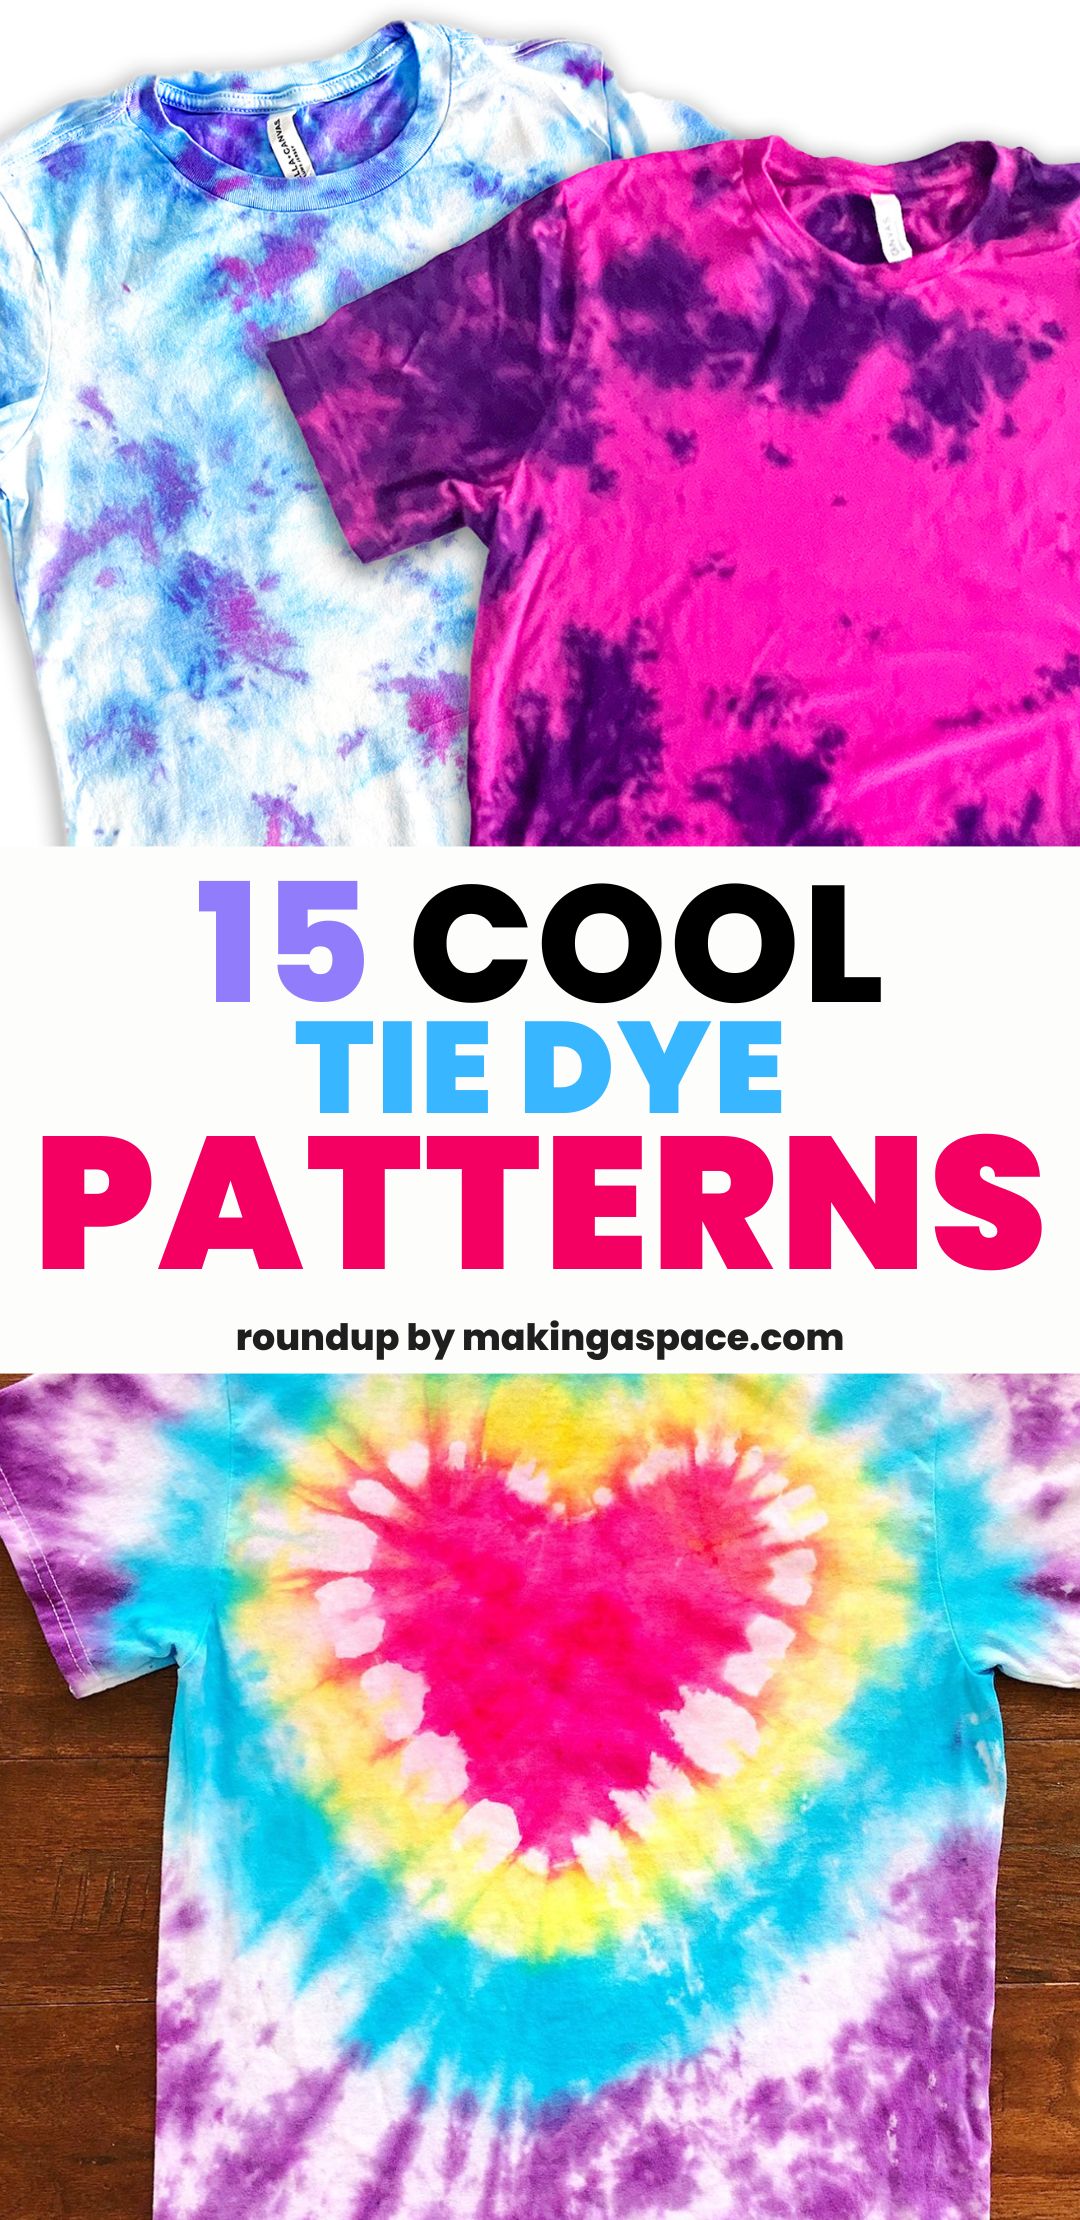
How to Tie Dye Heart Shape
Learn how to create a heart shape pattern when tie dying using this easy to follow pattern!
How to Tie Dye Square & Triangle Patterns
Learn how to Tie Dye Shibori Square & Triangle (Itajime) Patterns by following along with a few simple steps!
Easy Tie Dye Method: (Accordion Fold)
Use the accordion pattern technique when tie dyeing to create a fun one of a kind pair of pants!
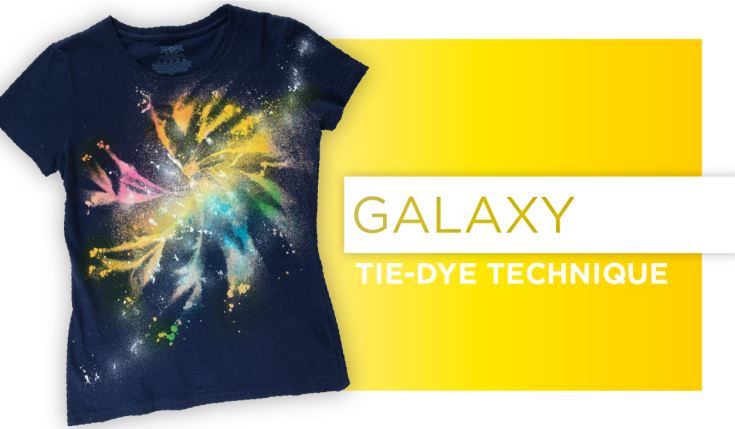
Galaxy Tie-Dye Technique Pattern
You'll love the way your tee looks when using the galaxy tie dye pattern! Get the full tutorial with photos and illustrations to help you along the way.
